
Now that your new Google Nest thermostat is attached to the wall and powered, it’s time to get it up and running, save money, and keep your home comfortable. The initial setup sequence of the Nest thermostat may seem a little tricky at first glance.
The menu forconfiguring the Google Nest thermostatis a bit long and there are many questions to answer, but the whole configuration is actually quite quick and simple.
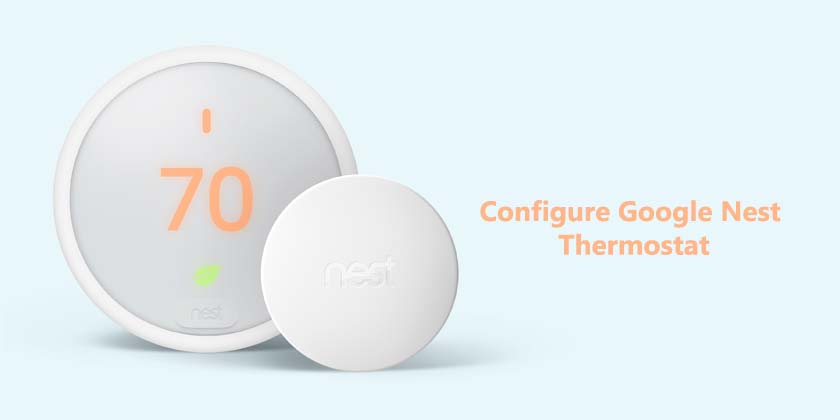
Nest doesn’t have a touchscreen like others. You can move between settings by turning the dial left or right and to select, and press on the face of the Nest thermostat like a giant button.
How to configure Google Nest thermostat
The process of installing a Nest thermostat may seem a bit long and difficult, but don’t be intimidated. You will first answer a few questions, then connect the thermostat to the Nest app on your mobile device. It’s all easy and it won’t take long to set it up.
- First, select your preferred language from the list, then confirm your choice on the next screen.
- Nest will show a list of all the Wi-Fi networks it receives. Choose your network, then go to the password entry screen, which requires the use of the dial button to enter each character. When entering the password, dial and select the checkmark at the bottom of the screen.
- Once Nest has confirmed its connection to Wi-Fi, press the Face button again to continue. Nest will quickly check for any important updates before allowing you to move forward.
- Set your location. This setting allows Nest to provide you with the updated time and time for your area, but it should be able to understand where it is and ask you to confirm your location.
- Next, you need to let Nest know which type of home it’s installed in. SelectSingle-Family,Multi-Family,Apt/Condo, orBusiness, then press the front button.
- Select which room Nest is in.
- Confirmation. Nest will ask you if you are a homeowner or a professional installer. Unless you’re actually a professional installer, select Home Owner.
- He will then show you a wiring diagram and ask you to press the front button to continue. If something seems out of place in the wiring diagram, it means that at least one of the wires has probably not been connected correctly. If so, you’ll need to remove Nest from the stand and recheck the wires to fix any problems. If you need to check the wiring, remember to turn off the Nest thermostat completely and use all appropriate precautions to check the wiring of the wires.
- Nest will ask for confirmation of the type of system in use. If everything looks fine, selectContinue.
- Tell the Nest thermostat what the fuel source is for your heating system. SelectGas,Electric,Oil, Propane, Geothermal or I don’t know.
- Finally, you will be asked what type of heat you use. SelectForced Air, Floor radiant,Radiators orOther information.
- Nest will then want to know if it should choose with heating or cooling. For example, in January it is very cold, we choose heading.
- In addition to Eco mode, select your Eco temperature preferences. These are essentially the temperature thresholds that Nest will use when no one is home.
Go back to the main configuration menu, selectSystem Test. The thermostat is fully configured and it’s time to make sure everything works! You can choose not to run the test, but we recommend that you take a few minutes to test each part of the system: heating, cooling and fan. When you are satisfied, selectDone.
How to use the Nest thermostat with the Nest app
The last option in the setup menu. Nest asks if you want to control it with the Nest app. If not, you can ignore and finish the installation, but if so, selectYes on the thermostat. A code will appear on the Nest which must be entered in the app to connect the two.
Nest assumes the app is already installed.If you have not installed the app, do it now.
- From the app, tap the+ button to add your home to the app. Give it a name and tapNext.
- Enter your address and let the app know if you want to use its geofencing capabilities. Geofencing means that the app uses your phone’s location to find out if you’re at home or away from home and other options, such as making sure your home is at the right temperature when you get home.
- For people who live in houses where someone is always at home, this option probably won’t have much value.
- Once done, tapAdd.
- The app will ask you to scan the QR code on the back of the thermostat. You can remove Nest from the wall if you want, or tapContinue without scanning.
- The app will ask you which product you are installing if it is already installed, and then the access key.
- Regardless of how you choose to confirm the connection, once it is done, Nest will inform you that it is connected to your account. Tap a couple of info screens on the thermostat, then tapDone in the setting options.
Finally, you’ll see the familiar Nest home screen. Adjust the dial to the temperature you prefer and it will tell you how long it will take to reach it. So was it easy toconfigure Google Nest thermostat?