
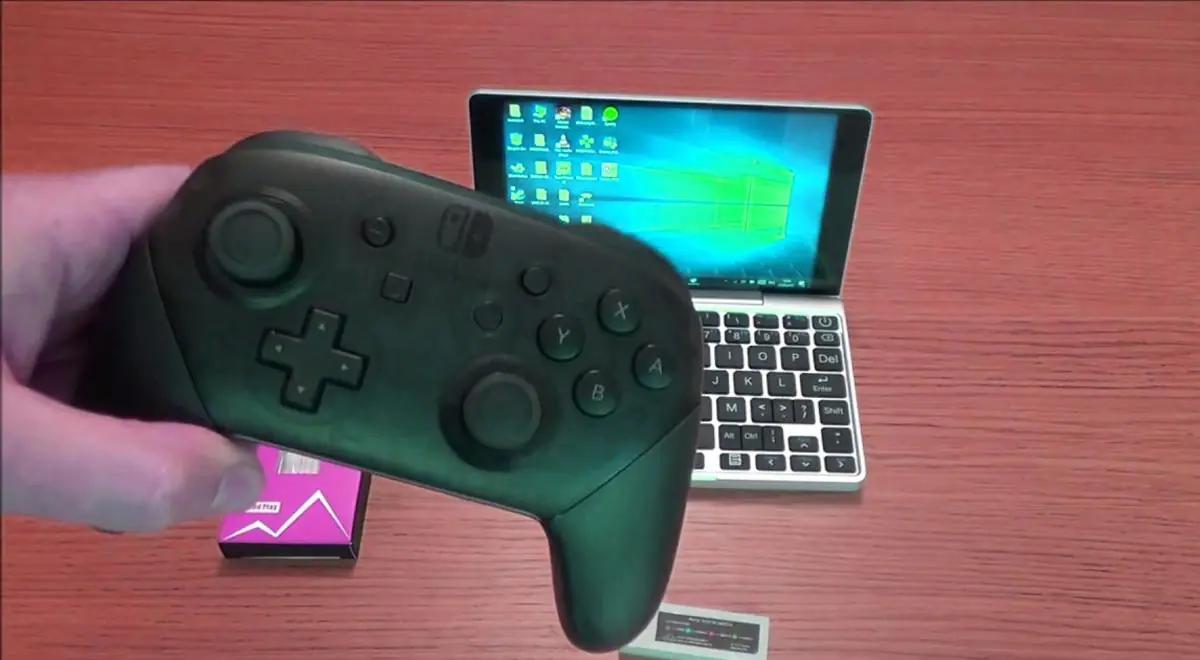
The Nintendo Switch Pro Controller is a favorite among gamers due to its ergonomic design, high-quality build, and versatility. While primarily designed for the Nintendo Switch console, it’s a great option for PC gaming too.
However, connecting it to a PC isn’t always as straightforward as it is with some other controllers. Whether you’re looking to enhance your gaming experience on Steam or enjoy non-Steam games with a reliable controller, this guide will walk you through every step of connecting your Switch Pro Controller to your PC.
We’ll explore both wired and wireless connection methods, compatibility considerations, and troubleshooting tips to ensure a seamless experience. By the end of this article, you’ll have all the knowledge you need to connect Switch Pro Controller into your PC gaming setup.
Why Use a Switch Pro Controller for PC Gaming?
Before diving into the connection process, let’s discuss why the Switch Pro Controller is an excellent choice for PC gaming:
- Ergonomic Design: Its comfortable grip and intuitive button layout reduce fatigue during extended gaming sessions.
- Durability: Built with high-quality materials, the controller is designed to last.
- Compatibility: It works seamlessly with Steam and can be configured for non-Steam games.
- Wireless Functionality: Enjoy the freedom of wireless gaming using Bluetooth connectivity.
How to Connect a Switch Pro Controller to PC
Follow the below steps to connect a switch pro controller to pc.
Step 1: Check Your PC for Compatibility
Before connecting your Switch Pro Controller, ensure your PC meets the basic requirements:
- Operating System: The controller is compatible with Windows 10 and later versions. Some features may also work on macOS and Linux, but Windows offers the most support.
- Bluetooth Support: For a wireless connection, your PC must have built-in Bluetooth or a Bluetooth adapter.
- USB Ports: If you prefer a wired connection, ensure you have a functional USB port.
Step 2: Connecting the Switch Pro Controller to PC
Method 1: Wired Connection
The wired method is straightforward and doesn’t require Bluetooth support.
- Gather Your Equipment: Use the USB-C cable that comes with the Switch Pro Controller.
- Plug It In:
- Connect the USB-C end of the cable to your controller.
- Insert the USB-A end into your PC.
- Recognize the Device:
- Windows should automatically recognize the controller as an input device.
- If prompted, allow Windows to install any necessary drivers.
- Test the Controller:
- Open the “Devices and Printers” section in the Control Panel.
- Locate the controller, right-click it, and select “Game Controller Settings” to test button responsiveness.
Method 2: Wireless Connection via Bluetooth
If you prefer a wireless setup, follow these steps:
- Enable Bluetooth on Your PC:
- Go to “Settings” > “Devices” > “Bluetooth & other devices.”
- Toggle Bluetooth to “On.”
- Put the Controller in Pairing Mode:
- Press and hold the small sync button on the top of the controller until the indicator lights start flashing.
- Pair the Controller:
- On your PC, click “Add Bluetooth or other device.”
- Select “Bluetooth” and wait for your PC to detect the controller.
- Choose “Pro Controller” from the list of available devices.
- Test the Connection:
- Once paired, test the controller using Steam or any other game that supports controllers.
Step 3: Configure the Controller for Gaming
Using Steam
Steam offers native support for the Switch Pro Controller, making it the easiest platform for configuration.
- Open Steam:
- Navigate to “Settings” > “Controller” > “General Controller Settings.”
- Enable Support:
- Check the box for “Nintendo Switch Pro Configuration Support.”
- Calibrate and Customize:
- You can calibrate the controller, adjust dead zones, and customize button mapping.
For Non-Steam Games
If you want to use the controller with non-Steam games, consider using third-party software like DS4Windows or InputMapper. These programs emulate an Xbox controller, ensuring compatibility with most PC games.
Step 4: Troubleshooting Tips
If you encounter issues, here are some troubleshooting tips:
- Bluetooth Not Detecting the Controller:
- Ensure your controller is in pairing mode.
- Restart your PC and try again.
- Check if your Bluetooth drivers are up-to-date.
- Controller Not Recognized:
- For a wired connection, try using a different USB cable or port.
- Ensure Windows has installed the necessary drivers.
- Button Mapping Issues:
- Reset the controller by pressing the sync button for 10 seconds.
- Reconfigure button mapping in Steam or your third-party software.
Conclusion
Connecting a Switch Pro Controller to your PC is a great way to enhance your gaming experience. Whether you prefer the simplicity of a wired connection or the flexibility of Bluetooth, the process is relatively easy with the right steps. Steam users benefit from native support, while non-Steam gamers can utilize third-party tools to unlock the controller’s full potential.
With its ergonomic design and robust performance, the Switch Pro Controller is a worthwhile addition to any PC gaming setup. By following this guide, you can ensure a smooth connection and enjoy hours of immersive gaming.