
Most devices today share Bluetooth technology. We recently told you that Apple’s keynote showed us the compatibility of Xbox One and PS4 controllers with iOS 13 and iPadOS. We can also connect video game controllers to our Mac.
Sometimes we do not consider the compatibility of console controls with our computers, but connecting a controller from a console to a computer may be easier than it seems in principle.
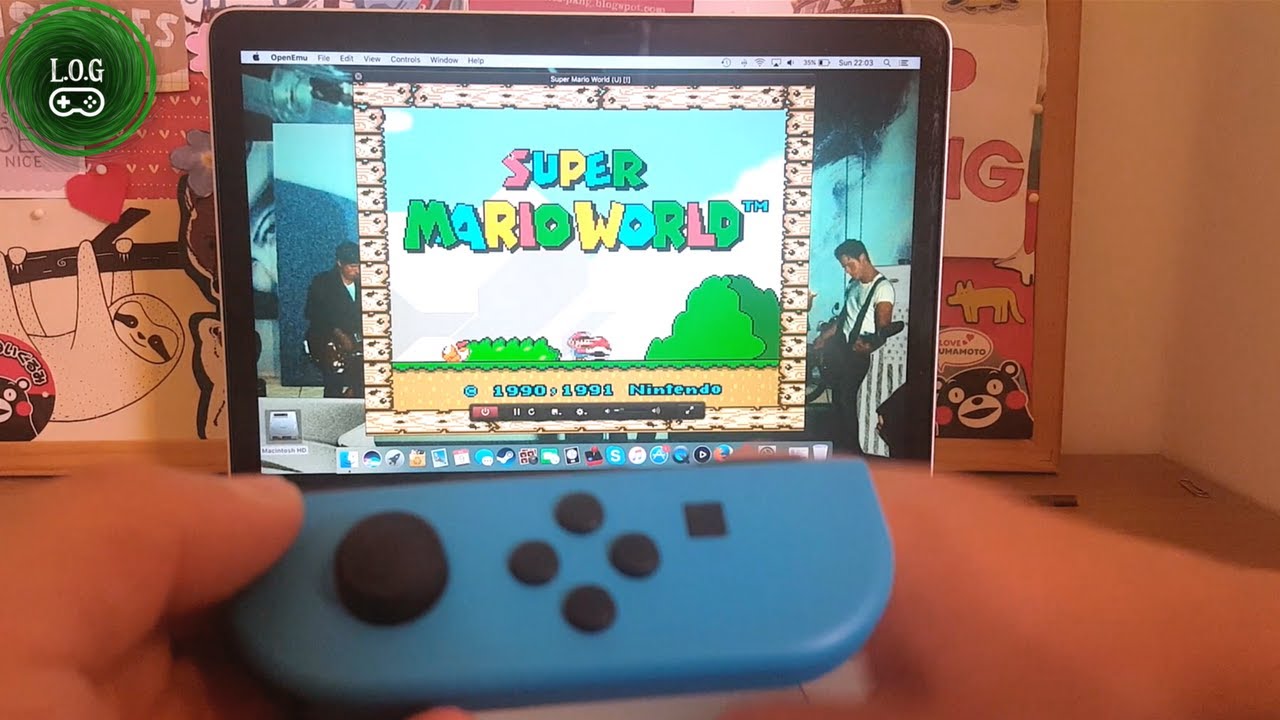
In this article we will see how we can easily connect a Joy-Con controller from the Nintendo Switch to a Mac. This will allow us to play on our apple computer as if we were doing it on a console.
How to connect the Nintendo Switch Joy-Con to our Mac
As we explained in the previous paragraph, the procedure is very simple to perform. We will only have to follow the following steps:
- Press the central button on the side of our Joy-Con. The lights on the remote will begin to flash indicating that we can pair it via Bluetooth.
- On our Mac, click on “” – “System Preferences” – “Bluetooth”.
- The Joy-Con will appear in the “Devices” window.
- Click on “Connect” and once the pairing is finished we can use the Joy-Con as a normal game controller for our computer.
If you have a Nintendo Switch Pro controller, you are also in luck. You can connect it to your Mac by following the same steps as with the Joy-Con.
In this case the gaming experience will be better than with the Joy-Con since it has less “lag” and establishes a more stable connection .
Use an application for mapping Nintendo Switch controls
Although the connection does not require anything for the controls to work well, it is advisable to use a mapping application to make the experience as good as possible. You have the Enjoy2 app available for this . With it you can configure the control buttons to your liking.
For now we can not connect the two Joy-Con simultaneously with our Apple computer, we have to settle for using only one. Hopefully in future updates you can implement the use of both at the same time.