
Configure the IP address and name servers for your Android tablet. These instructions apply only to WLAN / Wi-Fi connections, since Android does not allow you to change your ip address and dns servers when using mobile broadband.
Assign an IP address to your Android tablet
Configuring the IP address and name servers
- Select Search Programs and Settings.
- In the settings, select network and internet.
- Next, select WLan.
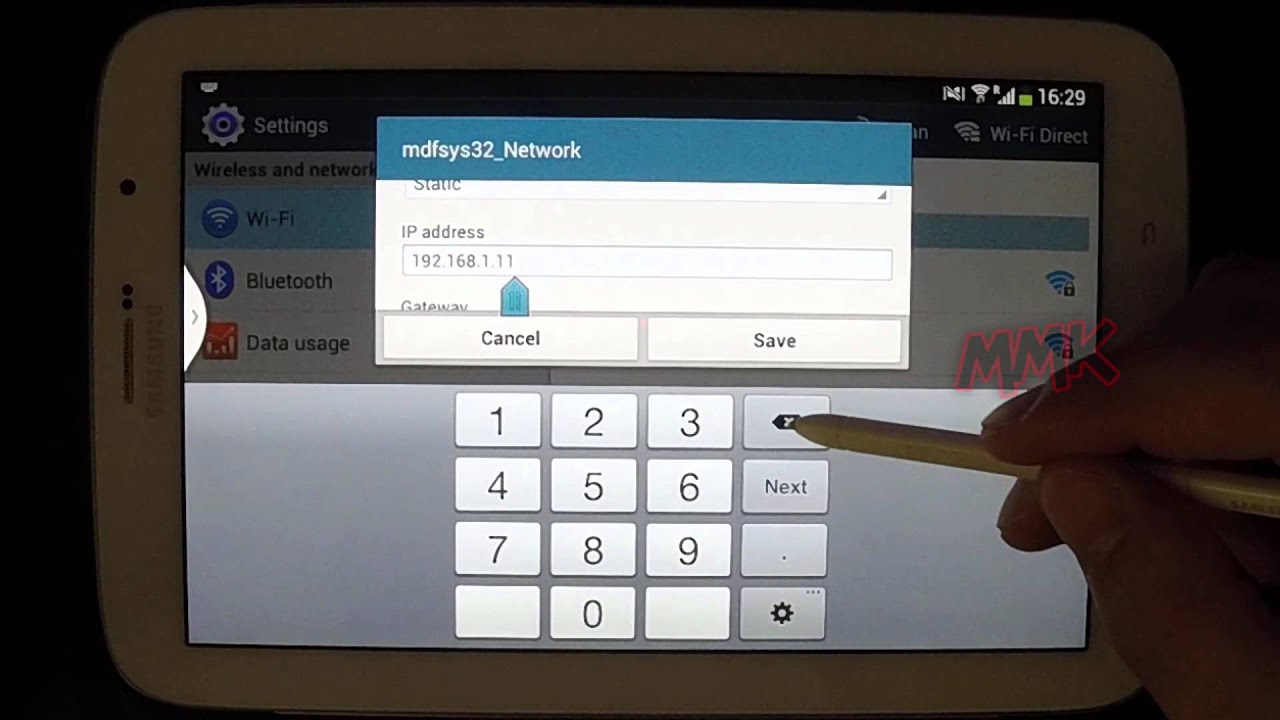
- Select your wlan network from the list and press and hold your network icon and select edit network. Some devices may require advanced settings to change network settings.
- You can change your Android tablet’s network settings by changing your ip settings from DHCP to static. After changing the mode, the menu will be displayed and the ip address and dns server settings can be edited.
- Some devices will remember your old IP address, but some devices will also need to be assigned a new IP address.
- Enter the IP address and default gateway of your intranet, and the length of the network prefix, for example 24.
- Finally, add the new name servers to DNS1 and DNS2. In this example, we use Google’s name servers 8.8.8.8 and 8.8.4.4.
Finally, select Save. You have now configured your fixed ip address and dns servers on your Android tablet.