
Adobe Lightroom is one of the best photo editing applications which is quite popular, especially among professional photographers and celebrities. But it does not rule out that beginners can also use this application.
In Adobe Lightroom there are various features for editing photos. One of the features that we can use presets, which can help edit photos easily and instantly.
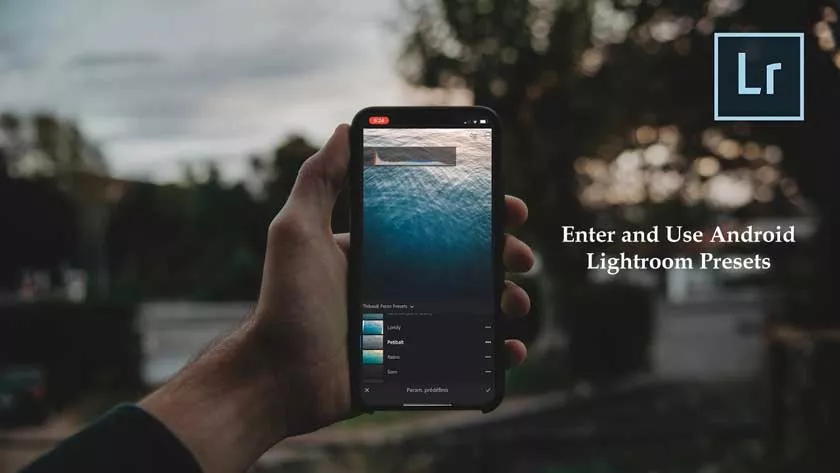
How to Enter and Use Android Lightroom Presets
Actually, this lightroom preset can be found easily on the internet. There are various types of presets that we can download, ranging from free to paid ones.
Before using the Lightroom presets, of course, we have to enter the presets into the internal storage of the cellphone in a certain way.
How to Insert Lightroom Presets on Android
Make sure we already have a preset that we want to put in the internal storage of the cellphone. Most of the presets are still zip files, and if you extract them, the preset file format is xmp. Then follow the steps below!
- Open the hp file explorer to open the folder where to extract our presets.
- Extract the downloaded preset into the internal folder of our cellphone to be precise
Android / data / com.adobe.Irmobile / files / carouselDocuments / 00000000000000/ Profiles/ Settings / UserStyles/. If the file is already an xmp file then we don’t need to extract the file. - Make sure that the extracted file is in xmp format.
After we enter the preset into the cellphone’s internal storage, then we just need to use the preset into our photos.
How to Use Lightroom Presets on Android
- Open the Adobe Lightroom application that has been installed on the cellphone.
- Open the photo that you want to edit.
- Then after the photo opens and the page appears in Adobe Lightroom editing, slide the menu below to find the Presets menu.
- Tap the Presets menu. Then all the presets that we have previously entered will be displayed in the preset selection list.
- Scroll down and select the preset you want by tapping the preset we selected.
- After that, our photo will immediately change its color, tone, and so on according to the selected preset.
- If we are not satisfied with the preset used, then we can choose another preset via the Preset menu.
- Tap the check mark in the top right corner to use the preset and return to the main menu, the Adobe Lightroom editing page.
- Do other edits if needed or save our edits if we are satisfied with the presets that we have applied.
That’s how to enter and use Adobe Lightroom presets on an android phone. The method is very easy, right? That way we don’t have to bother with editing our photos so that the results are cool. This method is suitable for beginners who want to change their photos to be better in an instant way.