
100% disk usage is one of the most common problems encountered in Windows 7, 8 and 10. This can happen on a computer or laptop.
If it is interpreted as Disk Usage 100%, it is a notification message stating that disk usage has worked so hard that the operating system performance has slowed down.
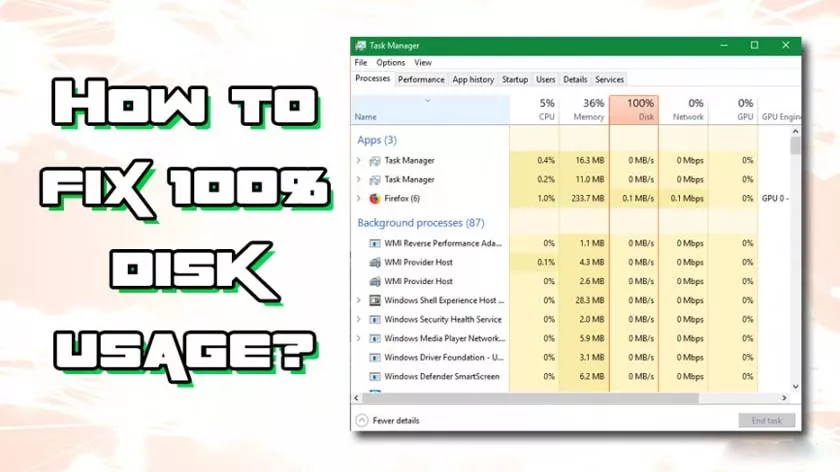
How to Overcome 100% Windows Disk Usage
Disk usage is a tool that functions to monitor the performance of a hard disk or SSD. If it reaches 100%, it means the storage is fully working.
Because it works in full, the effect is that the computer’s performance slows down and can hang.
100% Disk Usage problems in Windows are caused by many things, ranging from viruses, some hardware is damaged, some say that problems like this are caused by a bug in the system.
After knowing the cause of this problem, then the next step is to take prevention or repair so that the computer returns to normal again.
Disk Usage 100% in Windows can be overcome by the following methods:
Antivirus Scan
Performing virus scans on a regular basis is one thing that is often overlooked by computer users.
Whereas scanning the system with an antivirus can remove harmful malware and help optimize computer performance.
Viruses that infect storage will usually cause several problems, one of which is 100% Disk Usage. Therefore, the scanning process with anti-virus should be done regularly.
How to scan for viruses on Windows 10 is as follows:
- Enter the Settings menu.
- Then select the Update & Security menu and Windows Security.
- Then select Virus & Threat Protection.
- If there is an update, please update by selecting the Virus & threat protection updates menu.
- Then click Check for Updates, make sure your computer is connected to an internet connection.
- After the update process is complete, please click Quick Scan to start the virus scanning process.
- Wait until the Scan process is complete.
- If your PC/laptop is indicated by a virus, please click Delete to remove the virus.
- Done.
Disable Windows Update
The Windows Update feature in Windows 10 is active by default. So when there is an update and the computer is connected to the internet, it will automatically download the update file.
This will take up a lot of space and make your computer disk full.
It is recommended that the Windows update feature be turned off in the following way:
- Press Windows key + R to open the Run menu.
- Then typeservices.mscand press Enter.
- Next look for Windows updates.
- If you have found it, double click on Windows update.
- Then select the Disable option, then click Apply then click Ok.
- Done.
Disable Windows Search
Windows Search (Icon Search on Windows 10) serves to help us find files and programs on the computer that we will use.
Unfortunately, this feature is quite consuming a lot of RAM memory usage. Therefore, it is recommended that the Windows Search feature be disabled in the following way:
- PressWindowskey+ R.
- Typeservices.mscthen pressEnter.
- Scroll down to findWindows Search.
- Right-click on Windows Search then select theProperties option.
- Click theGeneral tab.
- In theStartup type,change it toDisable.
- Then clickApplyand then clickOk.
- Done.
Disable SuperFetch Service
Supertfetch Service is one of the service features in Windows that serves to store special data and then speed up its presentation when accessed again.
But in fact the special data storage at the beginning is very burdensome, so computer performance slows down.
To lighten the load on the computer, it never hurts to turn off the SuperFetch Service feature in the following way:
- OpenCommand Prompt, how to pressWindowskey+ Rthen typeCMDand press Enter.
- Once open, please enter the command “net.exe stop superfetch” then press Enter.
- Next, the message ”The Superfetch service was stopped successfully” will appear, which means the process has been successful.
- Perform Check Disk by entering the command ”chkdsk.exe / fr” then press Enter.
- Then the computer will reboot.
- Wait until the process is complete.
Reduce Auto Startup Apps
When the computer is turned on (Startup) there will be several applications that are open and running in the background simultaneously.
These applications cause computer performance to be slow. Too many Start up applications will also make the disk percentage become more and more full.
Therefore, you should choose several applications that are considered important to maximize startup features. Auto Startup applications can be restricted in the following ways:
- PressCtrl + Alt + Delkeys to open theTask Manager page.
- Once open, please click theStartup tab.
- Next will appear several applications that run in the background when the computer is turned on.
- Select the application you want to turn off.
- Then right-click and selectDisableon the selected application.
- Done.
Reduce Running Apps
The number of applications running in the background will also cause computer performance to be slow.
One method to overcome this is to disable some applications running in the background, and keep running applications that are considered important.
The method is as follows:
- OpenTask Managerby pressingCtrl + Alt + Del.
- Then click theApplications tab.
- Please select some applications that you want to disable.
- Right-click on the selected application, then click theEnd Task option.
- Then please restart your computer to feel the effects of applying this method.
How to overcome 100% disk usage on Windows is not easy, it takes precision to do it. However, whether it is difficult or not depends on the cause of the problem.
If you’ve applied all the methods above but don’t work either, consider using an SSD or reinstalling Windows.