
In this article, we deal with a topic that, in recent years, has been of interest to more and more people, especially professionals.
Those who work with the internet but more generally in a company will have had to do in recent years with the PEC, the Certified Electronic Mail referred to by the law: a PEC e-mail, unlike normal e-mails, has in fact legal value by registered mail, and having received it has a whole series of consequences, including fiscal ones, which are very important and totally non-existent in normal emails.
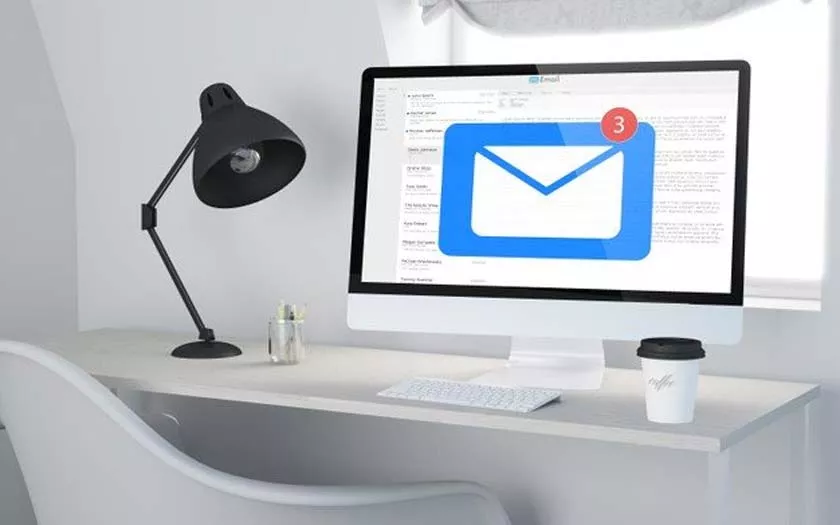
How to Configure a PEC Mailbox on iPhone and iPad
In short, if we have received one, it is good to know,and it would be convenient to be able to receive PEC emails like the others, on our iPhones and iPads, so that we can read them immediately.
The problem is that setting them is a very difficult thing,due to the protocols used; in this article we will try to understand how to set up a PEC mailbox on our devices.
The method to not go crazy
The first method, the “smart” method, in order not to go crazy in using the PEC, is to see if the provider that gives us the PEC has its own app on the App Store.
If it is a fairly famous provider, we will be able to download it, enter our credentials and manage our PEC emails from an alternative app to IOS Mail, but at the same time, the configuration will be immediate.
If the provider, on the other hand, does not have an app on the App Store, things are much more complex …
Set the PEC in iOS Mail
When we have a PEC e-mail box, as for any other box, we have an e-mail address and a password, which we must obviously have at hand.
It is also necessary to have all the other data available, such aspop andIMAP numbers,always provided by those who make the PEC available to us.
- First, go toSettings,thenMail, Contacts and Calendars and set up a new mailbox. When we are asked the manager we use the “Other” item and enter our username, e-mail address and password.
- At this point, since we have not set up a provider, the system asks us for the information that our manager has provided. The first thing to pay attention to is that in the tab at the top there are two choices, which areIMAP or POP: we choose what we find among the PEC information, being careful not to make mistakes. Because if we make a mistake here, all the following will be useless.
- We will therefore have to see two addresses: one that starts with pop orIMAP, while the second starts with SMTP. They are respectively the incoming mail server (the first two, but you will only have one) and the outgoing mail servers; you have to enter those two addresses, plus our PEC email and password in the field that we are in front of.
- At this point you have to pressSelva,and you will be returnedan error message. This is normal because we still have to finish the process.
- We then go back toMail, Contacts and Calendars,then we reach theOutgoing Mail Server item which is located inside the entry relating to the PEC account that we have just created. Here you need to activate the voice use SSL and change, at the bottom, the port number by inserting that of the outgoing mail on the form. Now we pressFinish.
- But it’s not over yet: the same thing must be done in theInbox settings, which is where the other one is, and here too weuse SSL and enter the number relating to the incoming mail.
The procedure should therefore be finished: now you just have to try to receive and send an email from your PEC and see if others receive it correctly.