
Create an Online portfolio: If you need to create portfolios to advertise your service in a simple way, Adobe’s Behance is the ideal tool.

It can be accessed for free as long as a quick registration is made, either by your email, Apple ID,Facebookor Gmail account.
In addition to hosting the portfolios of visual artists, designers and other professionals, Behance also functions as a social network where you can enjoy your favorite publications and interact with other users. It also helps to find job openings in your area while also showing your creations to contractors. Learn more below:
How to Create an Online portfolio Using Behance
Navigating the main menus
Step 1:Access the Behance website in your web browser. Then click on “Sign up with email” or select the Apple ID, Facebook or Gmail icon to create your account across platforms.
Step 2:Enter your date of birth and click “Update” to start creating your account.
Step 3:select your main areas of interest (eg photography, fashion, sound, game design). Then click on “View my personalized feed”.
Step 4:on the main Behance screen, entitled “For you”, posts are displayed based on your interests. You can follow their authors at any time.
Step 5:in “Descobrir”, other projects featured on the network are shown, especially those that received a greater number of views.
Step 6:The “Live” screen displays videos that are being recorded at that moment, whether they show interesting content or video lessons. To watch one of them, just click on “Watch the live broadcast”.
Step 7:Access the “Profile” tab to make the necessary changes to your account, such as your display photo, professional information, banner image and add projects.
Behance: creating a project
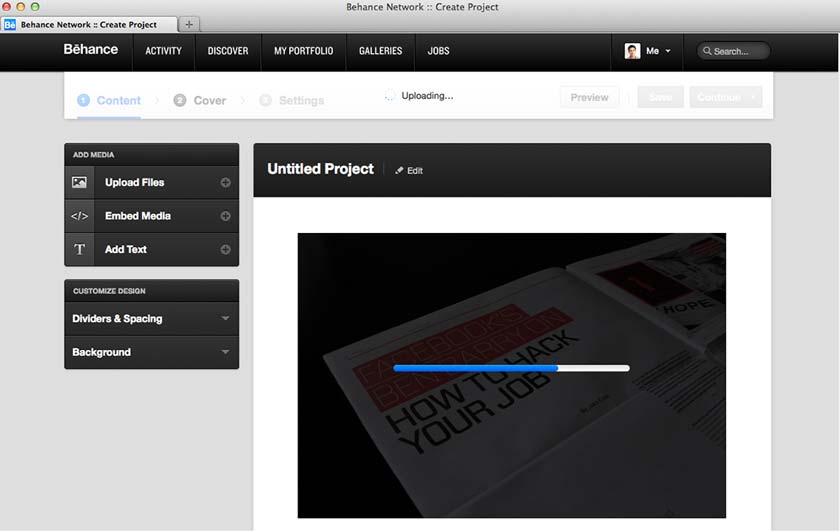
Step 1:Click on “Create a project” on the website’s home screen. You will be taken to the “Content” page, where you can upload your files, add text, embed URLs, Lightroom photos and even collages.
Step 2:clicking on “Cover”, you define the image that will appear on your Behance profile as a preview of your project. Don’t forget to enter a title for the project. Click on “Cut and continue” to proceed with your creation.
Step 3:Now it’s time to configure your project’s settings in Behance. Inform the categories in which it fits, what software was used, if someone helped you during the creation and, last but not least – the copyright. It is also worth informing whether the image has adult content or not so that Behance can filter it according to the age of users.
Step 4:Click “Save” to leave the project saved as a draft or “Publish” so that it is posted directly to your portfolio.
And you, have you used Behance? What do you think of the site? Tell us in the comments.