
Of course, we are familiar with the name Gmail. Gmail is the most popular email service provider at the moment. As we know, Gmail is equipped with various kinds of features in it. One of the features that we can enjoy in Gmail is the add-on feature.
How to Create and Send an Invoice in a Gmail Email
You can use this feature to add an additional supporting application, which can be selected from the add-on menu. One add-on that is quite important for now is anadd-on with the invoice feature.
This feature is used to create invoices that can be sent to your customers directly. Here we use free add-ons, so even small businesses can take advantage of this feature. You can also create an invoice using Zintego.com.
Immediately, here are the steps.
1. Open your gmail email account on each PC / laptop browser.
2. After you are on the gmail page on your PC. Then you click the gear icon in the top right corner of the Gmail page. After that you enter the “settings” menu.
3. After you are on the “Settings” page. Please click on the add-ons in the settings menu bar.
4. If you are already on the add-on page, please click on the “manage” link under the “add-on installed” menu.
5. If you are already on the add-on download page, type “free invoice for gmail” in the add-on search field, then press enter to start searching.
6. If so, you click the “Free invoice for gmail – bookipi” add-on logo.
7. You will be taken to the “Free invoice for gmail – bookipi” add-on page as below. Press the “Install” button to install this add on.
8. After that a small page will appear to confirm that you want to install the add-on, just click “CONTINUE”. After that you wait for the process to finish.
9. If the add-on has been successfully installed, at the edge of the gmail page the add-on icon appears. Next is the display of the add-on icon from the book.
10. To start creating invoices, please open the email message of the person you are sending the invoice to.
11. If the email message is open, then you click the “free invoice for gmail by bookipi” icon as shown below to begin the invoice creation process.
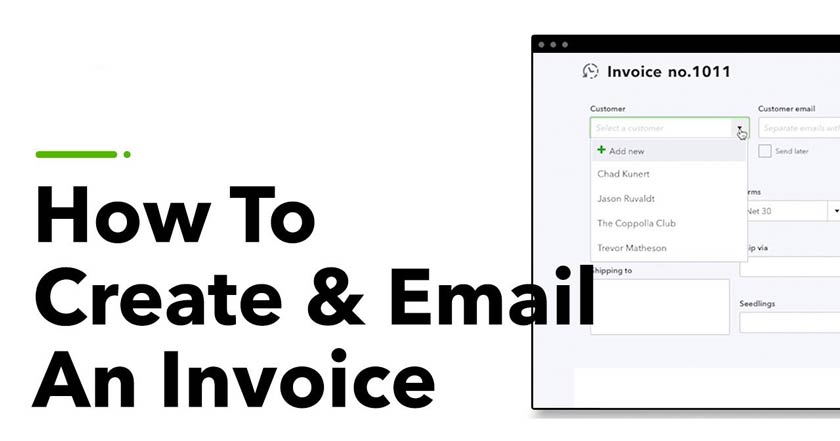
12. If so, the invoice creation page will appear.
13. You can fill in every column that has been provided.
14. If you have filled it in, click “Next”. After that you can see the details of the invoice you made earlier, here you select the “SEND” button.
15. After that the next step will appear, here you can fill in the recipient (can be more than one), and also fill in additional messages related to the invoice. If so, click “SEND”.
16. You will be taken to the yard as below. Adda says “DONE”, it means the invoice has been successfully sent to your customer. Then click the X icon, to close this add-on window.
17. Done. Until here you are just waiting for the buyer to pay their bills.
For those who are curious about how the invoice will receive the buyer, here’s how to see it. In step 15, we activate the “Send me a copy” feature. So with this feature, you will receive the same messages and invoices as your customers will receive.
To see the invoices, open the e-mail containing a copy of the invoice.
Then look at the attachment section at the bottom of the email, click the Invoice file. After clicking the invoice file, you will be taken to the invoice file. Here is how it looks.
This invoice feature will be very useful for those of you who run businesses online using email. That is all the discussion this time. If there are suggestions, you can add them in the comments below.