
Create Filters for Stories: Instagram gives users and companies the opportunity to create their own custom filter, through Spark AR Studio. Here’s how to do it.
2019 was the year in which Instagram probably reached the peak in terms of popularity, and this thanks toInstagram stories. The ability to instantly share photo or video content with your followers is particularly appreciated by users, especially since the latest app update, the one at the end of 2019, which gives users the opportunity to create newfiltersfor Instagram.
Create Filters for Stories
Augmented reality (AR) filters were already present within Instagram, but until the last update it was only the platform that could create them and make them available to users. Now, however, users can also createpersonalized filtersto share with their followers and the community.
But what are Instagram filters in detail and how are they created? Let’s see it in detail.
What are the filters for Instagram
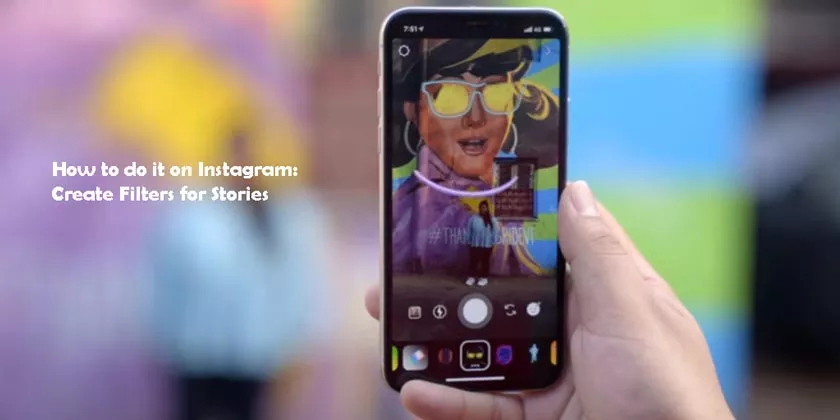
Instagram filters for stories are nothing more than masks developed inaugmented realitythat the user can apply on his own face or on that of the subjects in the photo or video.
This type of filters gives the user the opportunity to create fun and always new content, thanks to the many variations that are present within Instagram itself and that embrace numerous themes. In fact, it goes from the filters that modify the entire image, adding a colorgradientor even a color correction, up to the possibility of having real contexts within your own stories, such as the Jurassic Park filter that proposes the pursuit of the T-Rex to the detriment of the subject framed.
The high number of filters allows users to indulge in creating new content, content that circulates in the Instagram community since now users can also create their own AR filter and share it with their followers.
How to add and download new filters on Instagram
Inside Instagram there are two ways to add new filters to your library.
The first method is the simplest, and is based precisely on the concept of sharing. If one of the profiles you follow has used a filter that interests you particularly, you can click on thename of the filterthat appears under your contact’s username to decide to try it or save it directly in your library, also following the creator who has it product. In this way, when you open the Instagram story mode, you will find the filter already in your collection, ready to be used.
On the contrary, if you want to explore the library of filters already present on Instagram to discover new ones, you just have to open the story mode, scroll your filters to the left until you get to the end and click on the ”browse effects” button.
At this point you can look at all the filters in the community, search for them by category or even by name, in case you are looking for a specific one. At that point you can save the filter or the effect, which will appear in your list of filters to be used when you want.
When you decide to take a photo with the filter or record a video selfie, the light is the master. This is why there are numerous LED rings on the market to attach to your smartphone that will allow you to have the best possible light for your selfies. The best is certainly the LayOPO available on Amazon for 28.98 euros.
How to create filters on Instagram
The latest Instagram update expands users and brands to create personalized, shareable and very particular filters. The difference between users and brands is necessary because now there are two types of filters supported by Instagram.
The first type is that ofbusiness filters, i.e. filters that are created by companies to promote the brand, or a product of their own. This type of filter must have essential elements, such as brand name, logo, product name and product image. Unlike user-created filters, the filter produced by a corporate account will not be available in the filter library and cannot be saved.
The second case, the most common, is that offilters created by users, for fun or to promote themselves. In this case the filter will be shareable, save and reusable at your convenience.
Create filters with Spark AR Studio
Whether you want to create a business filter or a normal one, the steps are the same. First you will need to download theSpark AR Studiosoftware, the software that was made available by Facebook in August 2019. Spark AR Studio gives anyone the opportunity to create personalized Instagram filters, and it is a software with a 3D work environment but without requiring the skills of professional programs.
In addition to Spark AR Studio you will also need an imagecreation and editingprogram , such as Adobe Illustrator or Adobe Photoshop, which will allow you to export your files in .jpg, .png or .gif format.
Once you have your image or gif to use for the filter, you can start creating the effect with Spark AR Studio, selecting the type ofmaterial, uploading your file and setting the rendering settings.
In the end, you will have to export the file, go to the Spark AR Studio website in the “Manage Effect” area and upload your effect there. Once loaded and associated with a single page, you can try it and take a test photo. In the end, you will have to submit the filter created foranalysisby Facebook, which generally takes about five working days. Once approved, the filter will be available on the profile you have indicated in the upload phase and ready to be shared.
The difference between business and normal filter is that, once created for a brand page, the filter will be available on that page and not on the creator’s one. The creator will only be listed in the Spark AR Studio hub. To upload the file to the company page, the creator must have the role of Manager: if the company decides to remove that role, the filter will disappear from the company page.
At this point, whether you are a creator or a company, the filter will be available in your profile and in your stories, shareable and ready to be used.