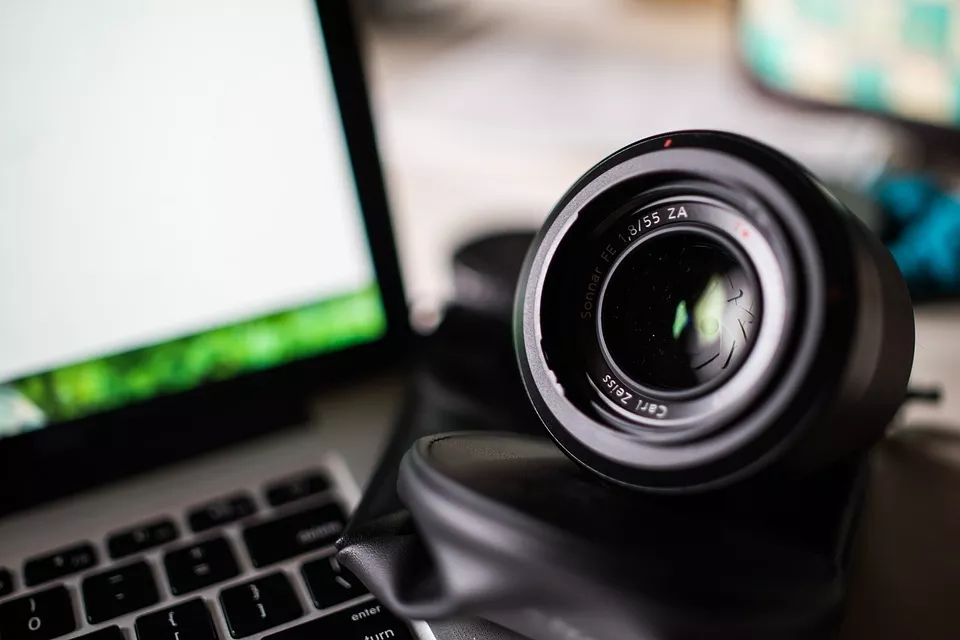
You wanted to use the camera but couldn’t because it is all black and you see errors? Most users have reported that this problem occurs on their laptops. But it can also happen with external computer cameras.

3 Easy Steps to Fix Camera Problems in Windows 10
Step 1: Restart the computer
There may be a program that is blocking the camera. Therefore, restarting the computer may solve the problem. Restarting the computer also refreshes the system, so it solves most of the basic problems you may face.
- Go to your Start
- Select the power button
- Select Restart
Step 2: Turn on and off
If the problem persists, try using the device with the camera and turn it on again. Sometimes your device needs some tickling to make it work, see the steps below.
- Go to your Start
- Enter device manager in the search field
- Click the best score
- You should see a new window that is Device Manager
- In Device Manager, select a device with a camera
- Use and click the arrow-like button to expand
- Click the camera right mouse button
- Select Disable, choose Yes when prompted
After disabling, enable it again by right-clicking it. Check if this solves the problem
Step 3: Update the drivers
If none of the above works, you may need to update the camera driver to work. There are two ways to do this. Update it manually or with the appropriate software.
Let’s start with the update.
Step A: Manual update
- Go to your Start
- Enter device manager in the search field
- Click the best score
- You should see a new window that is Device Manager
- In Device Manager, select a device with a camera
- Use and click the arrow-like button to expand
- Click the camera right mouse button
- Select Update Driver
- Select Automatic.
Step B: Automatic update
We have a program that can update in a few seconds. DriverReviver will scan your system for outdated drivers. Provides correct and updated drivers straight from the manufacturers.
