
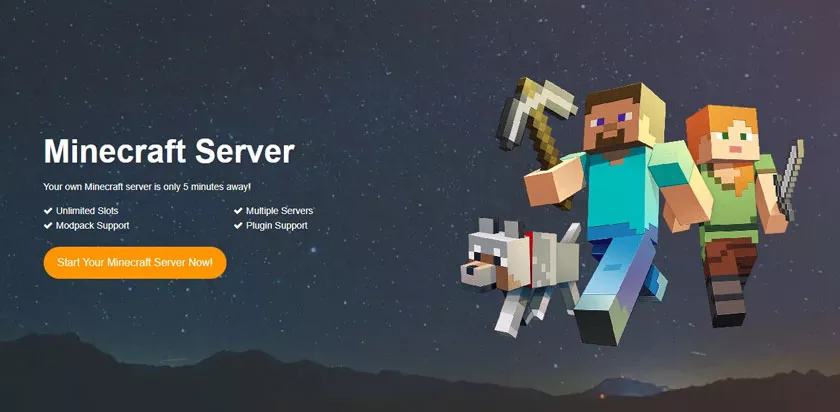
Minecraft is an incredibly popular game that has captured the hearts and minds of players of all ages. If you’re looking to set up your own Minecraft server, there are a few things you need to consider.
How to Make a Minecraft Server
In this guide, we’ll walk you through the process of creating your own Minecraft server.
Step 1: Choose a hosting provider
The first step in setting up your Minecraft server is to choose a hosting provider. You have several options here, including popular hosting services like Scalacube.
These providers offer a range of different plans to choose from, depending on the size of your server and the number of players you expect to have.
When selecting a hosting provider, it’s important to consider factors like cost, performance, and customer support. Make sure you choose a provider that offers excellent uptime, fast servers, and reliable customer support.
Step 2: Select a server plan
Once you’ve chosen a hosting provider, it’s time to select a server plan. The plan you choose will depend on the number of players you expect to have, as well as the amount of resources you need.
Most hosting providers offer several different plans to choose from, so make sure you select one that meets your requirements.
Selecting a server plan is an important step in creating your Minecraft server, and it’s essential to choose a plan that meets your needs. Here are some factors to consider when selecting a server plan:
- Server resources: The amount of resources you need will depend on the number of players you expect to have on your server and the complexity of the game settings and mods/plugins you plan to use. Look for a server plan that offers sufficient RAM, CPU power, and storage space to support your anticipated usage.
- Scalability: Consider whether the hosting provider offers plans that can easily scale up or down as your server usage changes. This can be especially important if you expect to see a lot of growth in the number of players on your server.
- Server location: Depending on where you and your players are located, it may be important to select a server plan that has a data center in a location that provides good latency and connection speeds.
- Price: The cost of server plans can vary widely depending on the hosting provider and the resources included. Consider your budget and look for plans that offer good value for your money.
- Customer support: Make sure the hosting provider offers reliable customer support, including technical support for any issues that may arise with your server.
By considering these factors, you can choose a server plan that is well-suited to your needs and provides a good balance of features and affordability.
Step 3: Install Minecraft on the server
Now that you’ve selected a hosting provider and a server plan, it’s time to install Minecraft on the server. Most hosting providers offer a simple one-click installation process that makes it easy to install Minecraft.
Once you’ve installed Minecraft, you’ll need to configure the server settings. This includes setting the game mode, difficulty level, and other game settings. You can also add plugins and mods to the server at this stage.
Step 4: Add plugins and mods
One of the great things about Minecraft is the ability to add mods and plugins to the game. This allows you to customize the gameplay experience and add new features to the game.
There are thousands of different mods and plugins available, so make sure you choose ones that are compatible with your version of Minecraft and the server software you’re using. Some popular plugins include Essentials, WorldGuard, and GriefPrevention.
Step 5: Customize the server settings
After you’ve installed Minecraft and added plugins, it’s time to customize the server settings. This includes setting up player permissions, configuring server rules, and managing the world seed.
Make sure you set clear rules and guidelines for behavior on the server, and consider using a whitelist to restrict access to only trusted players.
You should also consider setting up player ranks and permissions, so that you can control what players can do on the server.
Step 6: Invite players to your server
Once your server is up and running, it’s time to invite players to join. You can share the server IP address with your friends or post it online to attract more players.
Make sure you set clear rules and guidelines for behavior on the server, and consider using a whitelist to restrict access to only trusted players.
You should also consider setting up player ranks and permissions, so that you can control what players can do on the server.
Step 7: Manage the server
After your server is up and running, you’ll need to manage it to ensure that it runs smoothly and stays up-to-date with the latest Minecraft software updates.
This includes monitoring the server performance, managing player permissions and bans, and updating the server software as needed.
You should also consider setting up regular backups of your server, so that you can easily restore your server if anything goes wrong.
Conclusion
In conclusion, setting up your own Minecraft server is a fun and rewarding experience that can provide hours of entertainment for you and your friends. By following the steps outlined in this guide, you’ll be well.
For more information on Minecraft and how to create a server, check out the official Minecraft website and hosting providers like Scalacube.
On your way to creating your own server and customizing the Minecraft gameplay experience to your liking.
Remember to choose a reliable hosting provider, select an appropriate server plan, install Minecraft and add plugins, customize server settings, invite players, and manage the server to ensure it runs smoothly.
With these tips in mind, you’ll be able to create a fantastic Minecraft server that will be enjoyed by all.