
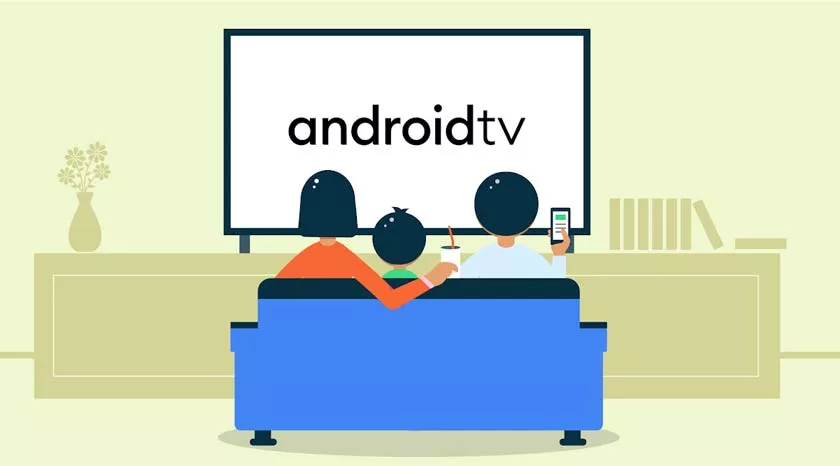
Install The Google TV GUI on Android TV: Android TV becomes Google TV with a new graphic interface. Here’s how to enable it on all Android TVs. Google has announced Google TV that effectively says goodbye to Android TV with a rebranding that is also followed by a complete graphical revolution of the interface of Bigg’s home operating system.
In fact, during the mid-September 2023 event, Google’s home entertainment system is all-new, more fluid, modern, and with enormous potential.
No more Android TV, welcome to Google TV now the new bonus interface is more beautiful, with effects and animations and its debut will take place on the new Chromecast with Google TV.
Not only will the new Google HDMI key bring a breath of noticeable news but for the moment it will be the only one to have Google TV. But we will tell you how to install it on other Android TV devices.
Google TV is all-new, it’s a universal system that aims to embrace all available streaming services. It has a new graphic interface completely redesigned in every part, animations, effects, and passages from one screen to another all-new, big oval buttons and transparencies everywhere. Here’s how to install it on all Android TVs.
How to install Google TV GUI on all Android TVs
While the guide isn’t super easy, it’s not too difficult either, and some familiarity with ADB commands and installing a few files and editing will be active.
Before starting the guide you need to make sure that you have installed at least Android TV 9 Pie or higher on your device and then download the following two files :
You have to download the files directly to your device, be it Android smartphone or tablet, but also iPhone, iPad, or Windows PC and macOS, and then you have to move them to your Android TV.
The advice is to rely on a Cloud service such asGoogle Drive, Dropbox, or even an email on Gmail to send the files to your Android TV. Share files on the cloud or send you an email with the files attached.
Once the files have been copied and downloaded to your device, you will need to install theFile Commander program and navigate through the folders to search for and install the previously downloaded APK files.
They certainly ended up in the Downloads folder on your device. Install both APKs as per the instructions below.
Now to use the new Google TV interface but you have to make some small changes to the operating system. Andante in the Android TV settings -> Device Preference -> About -> Build and click on the item 7 times until the command “ You Are Now a Developer! “.
Now that you are a developer go to the Developer Options tab and then to Network Debugging as per the following instructions. This will allow you to have access to ADB commands for remote use and issue commands from the command line.
Now the last step to use theRemote ADB Shell application you need to open it, enter the IP address of the Android TV device (check it in the network settings of the device).
Leave the port on 5555 and click on Connect.
After clicking OK you have to enter the following command to uninstall the Android TV launcher and therefore only have the new Google TV one:
pm uninstall –user 0 com.google.android.tvlauncher / cmd package install-existing com.google.android.tvlauncher per installarlo da capo
Now by restarting the device you will have the new Google TV interface also installed on your device with Android TV. If you notice lag or slowdowns, this is normal because the new graphics are not adapted to your device and may be slower.