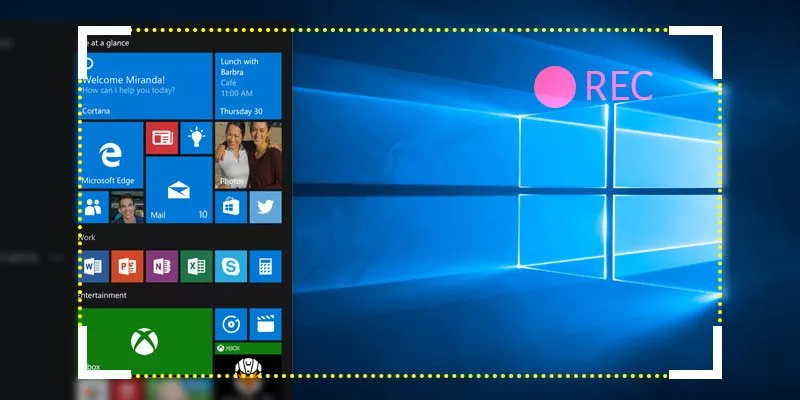
How to record a Windows 10 screen without an application – Currently recording activities that take place on a PC screen ( screen recording ) is indispensable to being a gaming YouTuber, making video tutorials, and doing college assignments.
How to Record a Windows 10 PC Screen
Before Windows 10 existed, Windows users who wanted to record screens on their PCs or laptops had to use the help of third-party applications.
Now there is no need anymore, because Windows 10 provides special features that allow you to record PC screen activities quickly and easily. The feature is called Game DVR which records the screen performance in just one window, so that when you open another window, the record process will stop and be saved automatically.
The Game DVR feature is perfect for using when recording a PC screen to play games, most YouTubers Gaming uses this feature to create video / live streaming.
The video produced from this recording is not too large in size like other third party applications. This is an advantage of using the Game DVR Feature to record PC screens.
Well without further ado, here is how to record a PC or laptop screen on Windows 10 with Game DVR.
How to Record Laptop and PC Screens Without Additional Applications
1. DVR Game Settings
Before recording a PC screen using Game DVR, first do the proper configuration for the feature. You can do DVR Game Settings by entering Settings then entering DVR Games.
The details are like this, you click Windows search and type “Settings” > Search and click Gaming Menu > Select Game DVR Sub Menu.
Now there you can set the storage place for the recording, the maximum duration of the recording, record the PC screen without sound or with sound, audio quality, video quality settings, and so forth.
A little information about the storage location of the recording, the default settings will be automatically saved on Local Disk C: \ Users \ Folder Your PC Name \ Videos \ Captures. If you want to move the storage location for example to Local Disk D, just move the Captures folder to Local Disk D.
2. Start Recording
- Run Xbox Apps on your PC by searching for Windows ” Xbox Apps “.
- Press Windows + G to bring up the screen recording feature. Keep in mind that recording via the Game DVR feature only applies to one window, if the window changes automatically recording will stop.
- If in the window the notification “Do you want open game bar?” Appears, then check “Yes, this is a game”.
- After the Game Bar there are several options, one of which is screen recording. Click the Start Recording button to start recording or press the Win + Alt + R button.
- To stop recording, you can simply press Win + Alt + R or reopen the Game Bar and press the Stop Recording button.
Now as AyGek explained above, your screen recordings will automatically be saved in C: \ Users \ Folder Your PC’s Name \ Videos \ Captures. If you want to replace it, you can move the Capture follers to the storage location you want.
The final word
That’s how to record the screen of a Windows 10 laptop or PC without an application. For those of you who can’t record a Windows 10 PC screen, maybe you forgot to not open Xbox Apps.

