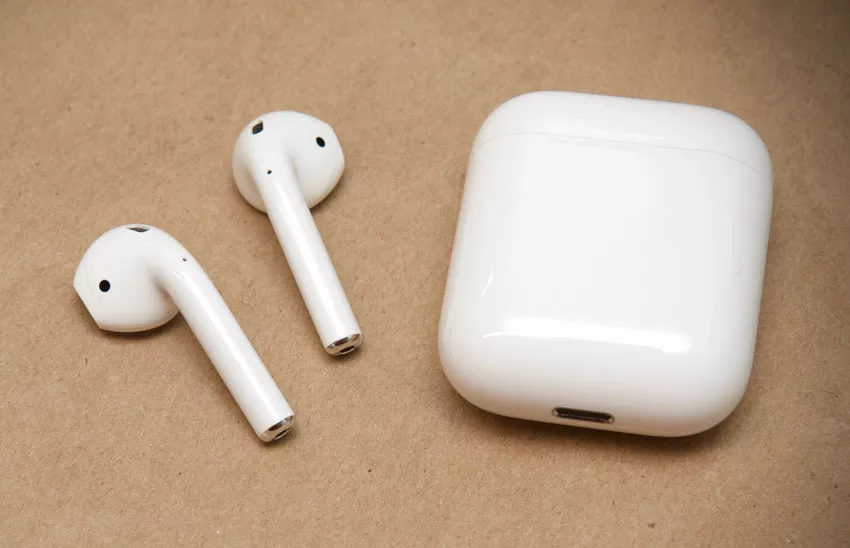
By default AirPods update automatically, but if that doesn’t happen and you need to force the update manually, here’s how to do it

How To Update The AirPods Firmware
Small guide to update the firmware of AirPods, the completely wireless earphones from Apple that are now in their second generation . Keeping them up to date is important because it helps solve small problems or bugs that may have been discovered as a result of marketing.
While the other Apple devices have a menu for updating the software, the AirPods do not have one. In fact by default, the firmware of these earphones is automatically updated: it is sufficient that they are inserted in the relative case and connected via Bluetooth to the iPhone.
The system is designed to independently download the new firmware on the phone at the time of release and the update is automatically done without notifications or messages of any kind.
However, if this does not happen, you can force the update manually. To do this, simply connect the iPhone or iPad combined with Wi-Fi and insert the AirPods in their case. Then open the lid of the latter.
The headset menu will appear: close it, then close the AirPods cover and wait a few minutes. If a firmware update is available, it will be downloaded and installed automatically in the next 30 minutes.
To check the version currently installed on your AirPods, simply open the Settings app on the iPhone, then go to the General tab> Information, then select AirPods to find the firmware version number present.
Unfortunately at the moment a page or an official system is not available to know the list of firmware released by Apple over time and then check if the version in your possession is the last one currently available, so to be certain to have the headphones We recommend that you update this procedure periodically.
