
Generally, when we talk about digital images, we imagine an image made up of a group of pixels of different colors, but although this is the predominant way of presenting visual content in digital media, there are other types of images that go unnoticed and that work differently which completely different from the first ones: vector images.
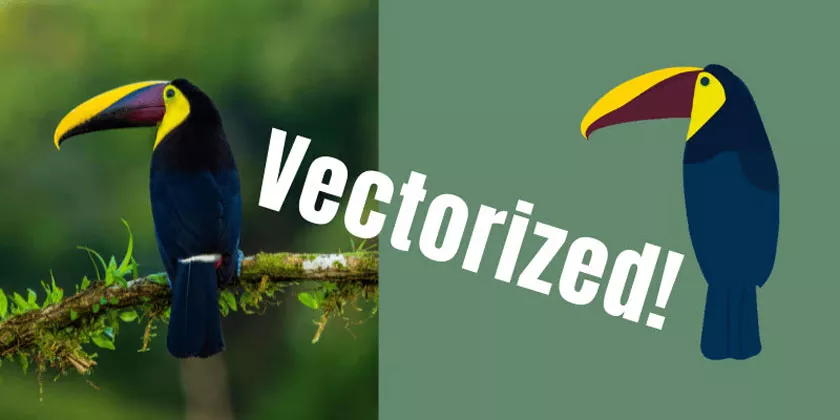
How to Vectorize an Image
Vector images work and save image information in a different way than traditional images. The first ones encode the pixels of the image in order to store it, depending on the extension and the way it is used, this data will be saved in one way or another.
But in all cases, the final representation will be colored dots according to the information stored, which makes sense since in the end those colored points or pixels will be the ones that the screen will later represent so that we can see them through the physical pixels of these.
Vector images, however, store their information in geometric shapes of different characteristics, such as rings, circles, lines, and squares which will be saved in a file in “.svg” format indicating their color, position with respect to the other figures, order and other information to be able to represent them again later.
This way of working has some advantages and disadvantages compared to traditional images, for example, a clear disadvantage is having to represent everything with shapes, only simple figures can be represented so most photos will lose quality when they are transformed.
On the other hand, they have a very big advantage, and that is that since they are not made up of pixels when resizing them, quality is not lost, since the geometric bodies that would form the image are generated in a larger size instead of expanding on the pixels as would happen in a normal image.
Given the advantages that vector images have, they can be useful in some cases, for example, they are widely used when making logos, since they usually have not very complex geometric shapes and it is very useful to be able to resize them and work with them without deform or lose quality.
That is why in this guide we will explore how to make vector images and how we can transform normal images that we already have into vector files.
Programs to make vectorized images
Vectorized images are not made in the same way as traditional photos, since they are composed of geometric figures we cannot take a camera and take a photo of anything and a vector image comes out, nor can we doodle in Paint or any other program similar and that a vector comes out of it.
Therefore, to create them we will need either to process an image that we already have so that a program can extract geometric figures from it and a vector equivalent of the image, or use a program dedicated to generating vector images such asInkscape, which is It is free and can be downloaded from the following link.
Apart from Inkscape there are also other paid equivalents or other drawing tools that can work with vectorized images like Photoshop or Gimp, although they are not focused on them and it can be more difficult to make and edit vector images with them.
Inkscape is an open-source program that offers everything you need to create and work with vector images, being able to add different geometric shapes, text, curves, lines and other geometric elements to our creations and edit their color and style, having to choose from a great variety of options.
Then we can export our work in the SVG vector file format or if we want, we can also export a traditional version of the image that we have created in PNG or JPG formats.
Convert a normal image to a vectorized one online and offline
As we have previously mentioned, it is also possible to transform normal images into vectorized images and for this we will have the option of downloading a program or using one of the online utilities designed for this purpose.
If we want to use an online utility, for example, we will have the https://picsvg.com/ website, which is dedicated exclusively to converting photos of up to 4 MB to SVG format and is very easy to use. The only downside is that the resulting image will be in black and white and will focus on the shapes and strokes of the original image, as we can see in the following image.
Another web option to obtain results closer to the input image will be Adobe’s SVG conversion website, which will allow you to upload a photo to transform it to SVG like the previous one.
Although with a result that will now be closer in quality to the original version. Although we do want to maintain all the quality, it is best that we use the following offline option.
If we need an offline tool we can use the previously mentioned Inkscape, which in addition to serving as an editor can also transform normal images into SVG and in this case maintain all the detail and quality of the original.
If we want to use Inkscape to get the SVG version of a photo, we will have to follow the steps below and have the program installed on our system.
- Create a new project. We can do by opening the program directly, or if we have configured the program in a different way, following the steps in the window that will open to create a new project.
- Open the file that we want to transform. For this, we will have to go to the “File” drop-down and there click on the “Open…” option to import the image to be transformed.
- Select the image we want to transform. A file explorer window will open where we will have to select the photo to import from our computer.
- Configure the import. Once the file is selected, we will have to select the import options from the window that will open in Inkscape. Generally, it will not be necessary to touch anything and we can click on the “ok” button to continue.
- Save the project. Now all we have to do is save the project using the “File” drop-down menu and there clicking on the “Save As…” button.
- Converted image. In the window that will open, we will have the option of giving our file a name and if we look we will see that we are already saving it in SVG format, so by clicking on the “Save” button we will have finished transforming our photo into one in vector format.
Other offline options will include programs such as the well-known image editors Photoshop or GIMP, although we have omitted them in this guide because the first is paid and the second requires the installation of an additional module to be able to do the conversion, so it will be much easier to use inkscape for this process.