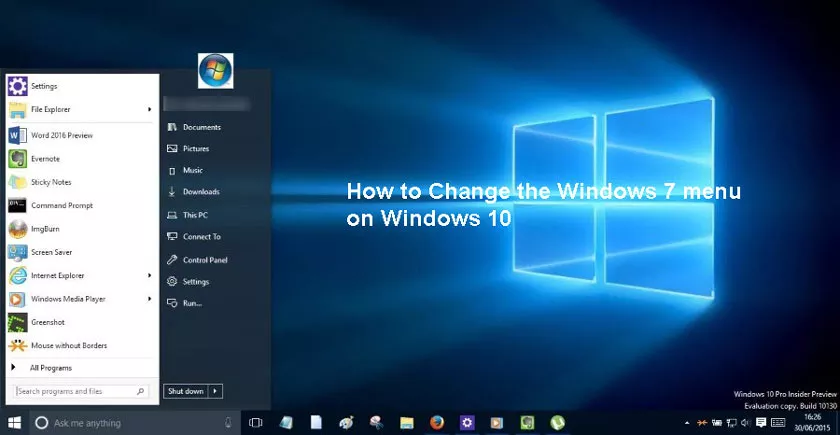
Change the Windows 7 menu on Windows 10: Here is a simple guide that explains how to change the start menu of windows 10 to have it equal to the old menu of windows 7.

When Microsoft changed the classic menu of windows 7 with the modern one of windows 8, it displeased thousands of users who for years, every day, used the classic menu to start programs installed on the computer, access the control panel, recent items, to the shutdown button.
The latter was a martyrdom, I don’t know how many hundreds or thousands of times I heard the question ” Where can I turn off my computer now?”
The start menu of Windows 10 is much better than the predecessor, as it turns out to be a mix with the start menu of Windows 7 and that of Windows 8, also incorporating some new concepts such as alphabetical ordering of programs, and theshutdown button that has returned to its place,
we can breathe easily, well still many users want the Windows 7 start menu, luckily there is a solution tochange the Windows 10 start menu. However, if we want torestore the Windows 7 Start menu,we have several options, with some additional steps, but nothing too complicated.
How to Change the Windows 7 menu on Windows 10
Option 1: Let’s start with the mostspartanoption of all,a Start menu only with the classic options: all programs, on / off button, configuration, user, files and most used programs.
To get something like this, simply right-click on the activetilesor squares in the default menu, then select the“Unblock from the Start menu”option .
Unfortunately, Windows 10doesn’t allow us to select multipletilesat once, so we have to unlock alltilesone by one.
When we complete this activity, there will be an empty space that we can eliminate by resizing the Start menu: just place the mouse on the right edge and drag it to the left.
Option 2: Windows 7 fans will have understood that with option 1 we lose some shortcuts in the right column of the Start menu, such as buttons to access My Computer, Documents, Images, Music, Devices and printers, etc.
The good news is that we can add these shortcuts, but in the form ofboxes. Next we explain how to do it with each of them:
User Folder:Open File Explorer, type “Desktop” in the address bar and press Enter. Right click on the folder that has our username and select “Add to start”.
Documents, images, music and videos:in Windows 7 these accesses indicated thelibrariesof each of these types of files. To add them again you have to open File Explorer, look for the Libraries section in the left navigation bar and add them all at the beginning, as shown in the following screenshot.
Games:Game Explorer has been replaced by theXboxapplication , in which we can add all our PC games and also offers many other options. To add it to Start we just have to type “Xbox” in Cortana / search, right click on the first result that will appear and anchor it.
Devices and printers:this was a special view of Windows 7 that showed us the peripherals installed / connected to the computer. In Windows 10 itis still availableand to add it to Start we have to write “Devices and printers” in Cortana / search, click with the right mouse button on the first result that will appear and anchor it.
Default programs:as for devices and printers.
Run:it’s also available in Windows 10. Just search for “Run” in search / Cortana and anchor the first result.
Control panel:in Windows 10 the control panel is replaced by a new configuration application, which is already present in the Start menu. However, the “transition” to this new app is not yet complete, so there are many options available only in the Control Panel. To anchor it on Start you just have to search for “Control Panel” in Cortana and anchor the first result that will appear.
Help and support:in Windows 10, help is provided via links to Bing, but there is still an “Introduction” app to the system that explains the basic aspects of it and that we can add to Start. The procedure is the same as before: search for “Introduction” and anchor the first result that will appear.
Option 3: Finally,an option for the more nostalgic of Windows 7, who seek not only to remove thetilesor restore previous links, but to use a menu with the same appearance as the old version of Windows 7.
For this, you just have to install theClassic Shellapplication ,available for download here.
This program is actually 4 applications in 1 and each allows you to customize a different component of Windows.
However, the only one we are interested in is theclassic shell boot menuand during installation we can choose to install only that component.
Once installed, Classic Shell you can choose the style of Windows 7 for the Start menu and also a moreretroone , with the same appearance of Windows XP or Windows 98.
If we want the result to beidenticalto what we would see in Windows 7, we must also go to the “Skin” tab and choose the Aero theme for the Start menu.
