
In recent years, the phenomenon ofstreaminghas spread within the virtual world and is now an active part of online entertainment. But what is it and how do you start streaming?
How To Configure OBS Studio For Live Streaming
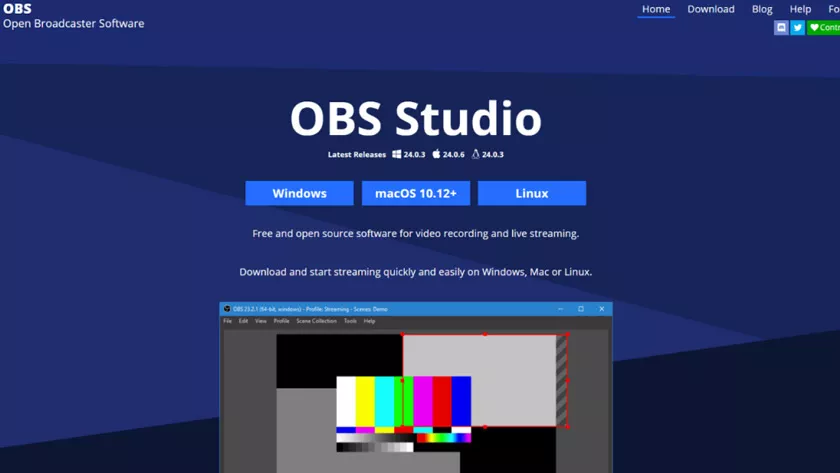
First we need certain software that help us better manage our Live. One of the best free programs that helps us set up our live is calledOBS Studio, which stands forOpen Broadcaster Software.
It is always recommended to use variable bitrate encoding for your media files as it provides higher quality files.
However, some settings need to be changed for the program to work completely and this is what we are going to explain in this fantastic guide.
OBS Studio – Download And Install
The first step is to download and install OBS Studio, on the PC on which we intend to start the live. The program, as we said earlier, can be downloaded for free from theirOfficial Site.
Once on the site, click on theDownload Installerbutton if you have a PC with 64-bit architecture, otherwise click on theDownload Installer(32-bit) button. Once the download is complete, you just have to install it.
When you start the program, OBS offers you anautomatic configuration wizard.In this case, you are free to choose whether to do it or not.
If so, tick theOptimize for live streaming option, recordings are less important->Choose the resolutionyou want and click onapply changes.
At this point we can finally start with the configuration of the settings for the complete and correct functioning of the program.
How To Link Youtube / Twitch Account To OBS Studio
Now we come to the fundamental part of our guide, which is the modification of the key settings of OBS Studio. The first thing to do to use the program is to connect our account (Twitch / Youtube / Facebook etc.) to OBS using theConnect Account command located in theSettings->Direct section.
If your intent is to make live broadcasts onYouTube, select the service from the drop-down menu, click onGet Stream Keyand in the window that opens, locate the item ”Stream Key” and click copy.
Then we go back to OBS again and paste the key just copied into the appropriate box. Please, do not disclose this code in any way, as anyone who has access to itcan easily do direct on your Youtube channel.The procedure is similar for both Twitch and Facebook.
How To Change OBS Studio Settings
Once connected, let’s move on to setting the settings in theVIDEO section,where we will have the possibility to change the transmission values of the stream such as the resolution and the FPS of our live broadcast.
In particular, in the basic resolution we will have to enterthe resolution of the monitorwe use, while in the effective resolution we will have to enterthe resolution values that we intend to transmit.
It is also recommended to leave thescalingfilterBYLINE, to avoid overloading our video card. Then set as values of FPS, 30 or 60 (if possible) to enjoy a stream with good video quality and excellent fluidity.
Advanced OBS Studio Settings
Moving to the advanced settings section, let’s immediately set theNV12 color format, the709 color spaceand thefull color rangethat will allow us to distinguish colors optimally during our live broadcast.
Finally, remember to activate the checkbox onEnable hardware acceleration for the browser source.The latest changes to be made are those of the Output or of the outgoing transmission.
The first parameter to be changed is calledencoding(or encoder) and willdirectly affect our liveandin-game performance. The available encodings depend on our video card and are:
- Radeon (AMD) cards:H264orH265encoder
- Nvidia Video Cards->NVENCencoder
I do not recommend choosing the x264 encoder if you don’t know what you are doing.
The second parameter to change is thevideo bit rate (or bit rate). Its modification depends on several factors: the speed of your connection, the power of the video card and the game you are playing.
We recommend that you change this value slowly, by doing some simple tests. Otherwise, you can set it to 2500-3000 kbps.
To check if the parameters you just changed are good for your internet connection, just use the integrated function of OBS, called Bandwidth Test, available in the Direct section, once you have connected the account dedicated to the Streams.
After enabling this function, click on the “Start live” button from the main OBS screen. If you notice any errors, lower some parameters, such as bitrate, resolution or FPS.
Setup Settings
The last thing to do before being able to use and make the most of the potential of OBS Studio is to create the various windows for our live broadcast.
First you need to create ascene to which a source has to be added. An example of a scene is theCapture the screenthat will make visible everything that will be present on our monitor.
Alternatively, we can use theGame Capture function, but we do not recommend it as it creates instability on some games.
We can then create a scene to shoot our face using the appropriateVideo capture device command and selecting our webcam.
Finally, we have the possibility to resize the size of the various scenes to our liking, however,the orderin which they are selected is important to distinguish the scenes placed in the foreground from those that will be in the background.
With these last settings we are done and we can finally start our live with the appropriate commandstart transmission and have fun with our friends and followers.