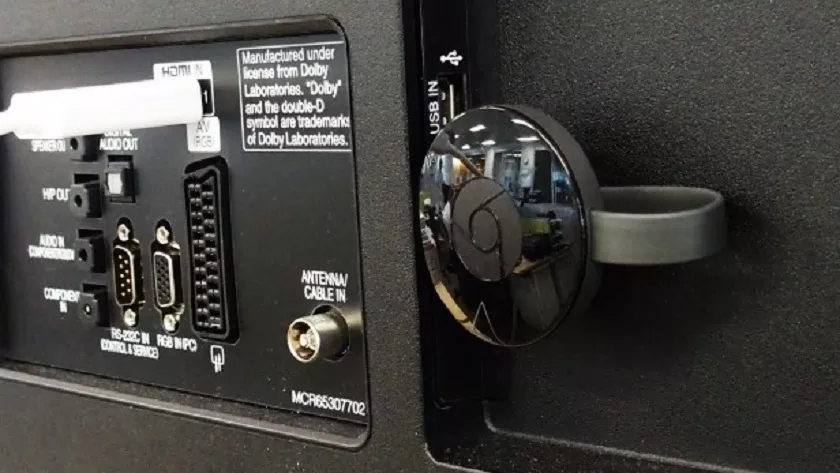
If you want to change your Chromecast from one television to another, you must follow a series of crucial but very simple steps. Here we explain step by step how to connect chromecast to another TV.

Google’s Chromecast devices have become one of the best options for connecting a simple television to the internet and being able to watch streaming content sent via mobile.
Movies, series and documentaries that we find on platforms such as Netflix, HBO, Amazon Prime Video or Disney +, but we could also put YouTube or some video that we have on the computer, evenmusicfrom other platforms such as Spotify.
These devices are very simple to use and configure on a television and therefore itisalsovery easy to change them from one television to another.
Either because we have several televisions at home without WiFi connection, because we are going to throw away that old television or because we take the Chromecast on the road and want to join it to the television in the hotel room or apartment where we stay.
Next, we explain each of the steps you must follow to put it on a different television. Being the same Chromecast device,it is not necessary to delete it or format it from the application, you may simply have to edit the WiFi if you change your destination in addition to the TV. Therefore, you turn off the TV, disconnect the Chromecast from the electrical outlet and then the TV.
Connect Chromecast to another TV
What do you need? First you must be clear what tools you need to proceed to connect it.
- AGoogle Chromecast: the one you already have, although if you want to try the new models, you can buy the Chromecast Ultra, or wait for the next version that will have a remote control.
- AUSB cableand theUSB power adapter.
- An Android or iOSsmartphoneor tablet.
- Wi-Fi access pointname and password
- Optionally: aportable Wi-Fi router.
It all depends on where you are at home or in a hotel where you may need a portable Wi Fi router like these.
First step: Find the HDMI port of the TV
A Chromecast can only be used if the TV has an HDMI port, so this is the first step. There may be multiple inputs and they will be indicated as HDMI 1, HDMI 2, etc. If there is a free one, connect your Chromecast there, otherwise you will have to leave one free.
Step Two: Find an Energy Source
This device needs a permanent power source to function. The USB cable that comes with it is intended todivert power from an available USB port on a TV, but not all TVs have one, so a USB charger for a wall outlet is a good idea.
Televisions are usually connected near wall outlets, because they also need it, if it is very saturated you may need a power strip with several outlets.
Step 3: Change the inputs from the TV remote
Now you can turn on the TV, each one has a specific mechanism to change the HDMI inputs, although it is usually similar, from the main menu. Remember where you connected the Chromecast,look in the menu and “external inputs” and change it. It’s that simple.
If you do not get it you can always see what is the input that is available and put the Chromecast there so that it comes out immediately, although this can leave you without the traditional TV channels that are usually in the main entrance.
Step Four: Connect with the Google Home app
Now that you are in the correct entry, you must proceed tolink the Chromecast with the WiFi network that you haveand for this it is necessary to configure it in theGoogle app.
There they will give you all the instructions you should take. If you are at home, the WiFi network will be the same and since we have not deleted it, you already have that step.
The Chromecast device has not disappeared either, since it remains the same and is registered within your user. You can now enjoy all the content compatible with Google Chromecasts.
