
Connect Your Airpods with Your Mac: You have Airpods. You have a MacBook. Now you are ready to use the two devices together. But you don’t really know how to configure them.
The good news is that the connection process for Airpods is fairly intuitive, but you’ll still need to know where to go and which buttons to press. Our guide will help you connect your AirPods in minutes.
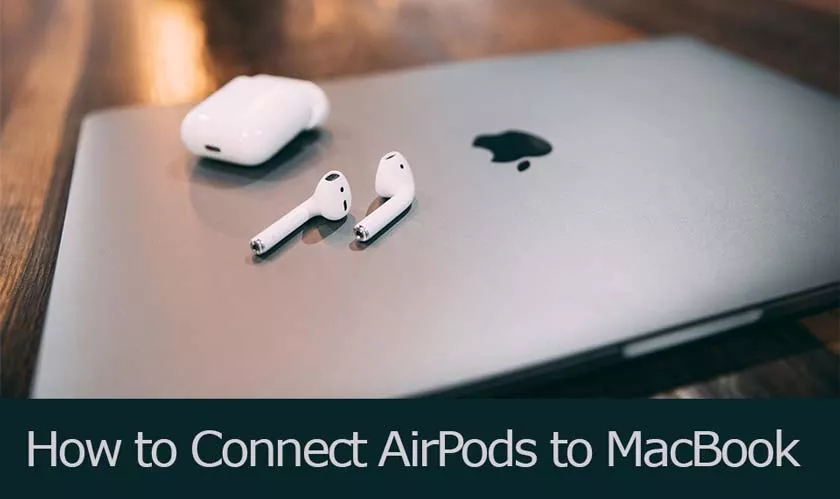
Connect Your Airpods with Your Mac
Are you trying to pair AirPods with your Mac that have already been connected to your iPhone? It’s possible. In fact, it’s much easier than trying to connect a new pair of AirPods. The key is that your iPhone must be connected to the same iCloud account as your Mac, with the same Apple ID.
For most people, this won’t be a problem, but if your iPhone is used by more than one person or if you need a different account for your Mac work, this option may not be possible.
Step 1: Put your AirPods in your ears, then turn on your Mac.
Step 2: When your Mac is charging and you can access MacOS, look in the menu bar at the top right of the screen, where you can see all the connections, all the settings and all the active applications for your Mac. One of them will be the “Bluetooth” setting, which is signaled by a small Bluetooth signal (usually detected by the Wi-Fi signal). Select it.
Step 3: Find the name of your AirPod in the drop-down list. These are generally “AirPods of [your name]”. If you see it, it means your Mac has already recognized your AirPods. Select them and try to play something. You should hear a loud sound when the AirPods connect, followed by the MacOS sounds of your choice. No other configuration required!
To pair new AirPods
If your AirPods have not yet been connected to any Apple device, the setup process will be a little more complicated, but still doable.
Step 1: Keep your AirPods in their charging case. If they are not there, then put them in it. Turn on your Mac when you’re ready to start.
Step 2: Go to the menu and choose “System Preferences” to start. Then click on the “Bluetooth” section.
Step 3: Check left to make sure your Bluetooth is turned on. It probably is, but confirmation is important.
Step 4: Take the charging case, open the cover for better connectivity and rotate it so you can see the back of the case. A button at the bottom center of the case is used for configuration.
This normally activates the Bluetooth function so that your Airpods can be detected by nearby devices – in this case, your Mac. Press and hold this configuration button until the status LED next to it flashes white.
Step 5: Now go back to the “Bluetooth” section on your Mac. Your AirPods should appear in the list of devices. There will be a blue button next to them saying “Connect”. Select it, you can now test your Airpods and check if they work well.
Has your Airpoads failed to connect?
Some people have problems connecting to their Airpods, and they receive a message “Unable to connect to the device”. This usually indicates a connection problem or a sign that iCloud is a bit confusing.
Here are some solutions to fix this problem:
- First turn off bluetooth on your device. Wait a minute, then turn on Bluetooth and try again. Sometimes that’s all it takes.
- Turn off your AirPods and Macs, then restart – first your Mac, then your AirPods. This can often clear up any confusion about connectivity.
- Already connected to an iPhone or iPad? Go to Settings, then tap Bluetooth.
- Now try to reconnect to your Mac and then to your iPhone if you need to.
Do you have an iPhone / iPad connected to your account? Go to the “Bluetooth” section of “Settings” on your iOS device and see if your AirPods are connected here. If so, select them and choose “Forget this device”. Now try to connect them to your Mac, then reconnect to your iPhone if necessary if this method succeeds.