
Install macOS On a PC: Before we begin, we would like to point out that under the Apple Software License Agreement, the trademark prohibits the “installation, use or performance of the Apple Software on a non-Apple branded computer”.
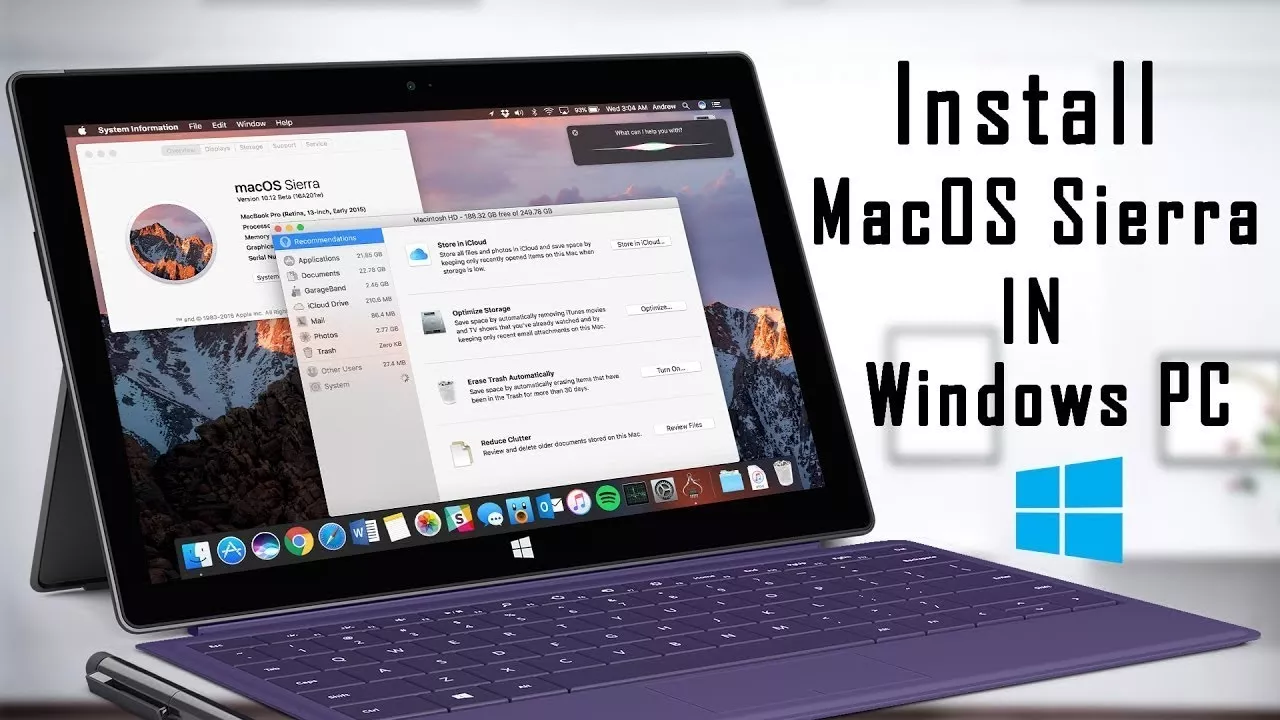
This is not because it is not allowed that it is not possible to install macOS on a PC. There are many tools you can use to create installation media and implement any version of macOS (even Snow Leopard) on a non-Macintosh computer.
What do you need to install macOS on a PC?
First, it is necessary to have access to a Mac (Sierra or newer version, to check this feature click on the Apple icon in the top left → About this Mac ) in order to download the operating system from the App Store. You must also change your language to English in order to use the installer.
Then make sure your PC is equipped with a 64-bit Intel processor.
You will also need a USB stick of 8 GB minimum, it will serve as macOS installation support. It is very important that she never had Windows installed on it. However, if you plan to install macOS High Sierra, then you will need an external hard drive with a minimum of 50 GB of free space.
Finally, you will need third-party software to create support for installing macOS on an Intel PC.
One of the most popular is the free program Unibeast (in English) . It is downloadable from the site tonymacx86.com after your registration on the site.
Create and install macOS installation media on a PC
Recent versions of macOS were easily found from the Mac App Store, but not anymore. To download Mojave, click here.
- Go to tonymacX86.com, register and download Unibeast. Launch the app and follow the installation process.
- Connect your USB drive to your Mac, open the application Disk Utility (Disk Utility), click on the tab Partition (Partition) and select 1 Partition.
- Its format must be Mac OS Extended (Journaled) and its GUID Partition Table schema. If you wish, you can change the name of the partition.
- Next, go to the Erase tab and click on Partition. Your USB key will be completely erased. Note that you must go through this step even if it contains no data. Then, quit Disk Utility.
- Back on Unibeast, always click Continue. You will then be asked to select your USB key and then choose the OS version to install, here Sierra.
- Then, two modes of reinstallation are proposed to you, Unified Extensible Firmware Interface (UEFI) and Legacy. In most cases, you should choose UEFI. Select Legacy only if your PC has a motherboard more than 3 years old and uses BIOS.
- Once the mode of reinstallation chosen, it is proposed to you to indicate the graphic card of your PC.
- If it has a fairly recent Intel card then you can skip this step. If you do not know the graphics card of your PC then it is better not to select any option.
- Click on Continue for Unibeast to install on your USB key. Then, be patient because this process can take up to an hour. At the end of this step, you will be able to disconnect the USB key. In the meantime, go to your PC and disconnect the external media (USB key, hard drive etc …). If your computer has an integrated graphics card and a discrete graphics card, then remove it. Then, if possible, connect your Mac to the PC via its DVI port, not HDMI or VGA.
- Now connect your USB stick to the PC and configure the BIOS or UEFI of your Gigabyte (GA-) motherboard. To get to the BIOS, be prepared to press the F10, Delete or Esc key when you turn on your PC. Then change First Boot Device to USB-HDD. If your motherboard is with UEFI, press Delete, then go to the Advanced tab. Press the F7 key and change Boot Option # 1 to USB. Note that you will need to remap it to restore the default settings. If you do not have a Gigabyte motherboard, follow step 5 of this tutorial (in English) .
- Still in the BIOS, click on boot and on the USB option. Your PC restarts from the bootable key you just created. Using the arrow keys on your keyboard, select External (for your USB key), then press the Enter key .
- When you need to choose your bootable key and it does not appear on the screen, go to Utilities (top), select Disk Utility, then your USB key. Click Erase to format it, and rename it. Its format must be Mac OS Extended (Journaled) and its GUID Partition Table Schema.
- The installation of Mojave should start automatically, it requires about 30 minutes. When the media finishes installation, reboot your PC with the USB stick connected. The Uniboost menu displays your bootable key, select it, your computer then reboots with macOS. Finally, click Continue and accept the Settlement. Your PC now has Hackintosh.
- Now you have to set the hardware (sound, Wi-Fi connection ..), for that you can use the program Multibeast, it is also downloadable from tonymacX86.com. Find here a detailed tutorial, in English.
Thus you can create and install macOS installation media on a PC