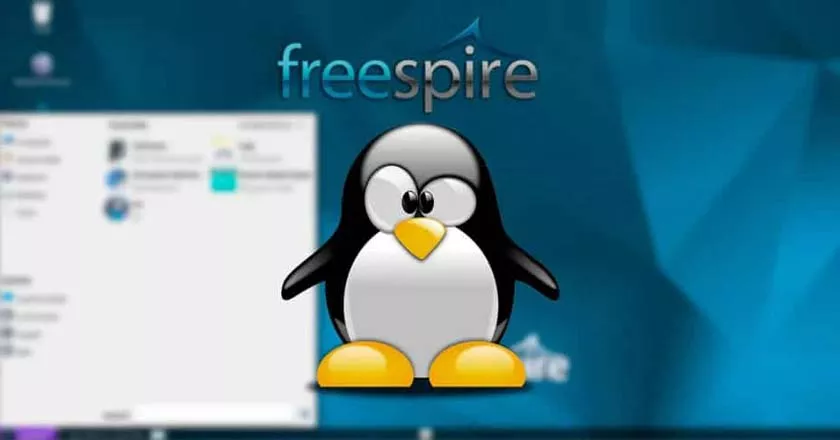
Linux Freespire: Linux distribution based on Ubuntu is easy to use and is a good alternative for anyone who wants to leave Windows 7. Learn more about it and how to install it!

Many people have been migrating to Windows 10 because Microsoft is officially ending support for Windows 7 , one of its most popular systems in recent times.
Linux Freespire: a good alternative to replace Windows 7
In turn, those who did not like Windows 10 ended up finding Linux as an interesting alternative to use on the PC, and there are several good distributions for daily use , as Olhar Digital has shown previously.
A system that ended up out of that list above, but that is also a good option is Linux Freespire, which turns out to be a very friendly distribution. If you don’t know it yet, here’s how to install it and what are its main highlights.
How to obtain and install Linux Freespire
Linux Freespire 6 is a very lean distribution based on Ubuntu 18.04 and, according to even their website, they want the system to be a friendly option for those who are leaving Windows 7. Like most other Linux distributions, Freespire can be tested on your computer from a flash drive without having to be installed. Check out how to do it:
1. Access the official page of Linux Freespire and download your image in ISO format;
2. Using a tool such as Rufus or Balena Etcher , transfer the downloaded image to a USB stick;
3. Access the computer’s BIOS by pressing the Del or F2 key (the key used may vary according to the manufacturer) and set the pendrive as the main boot drive;
4. On the image boot screen, select the option “Start Freespire 6” and wait for the system to load. The time for the process varies depending on the speed of your computer.
From the last step demonstrated above, you can now start using Linux Freespire. However, in order to enjoy a better performance and actually have it on your machine, it is necessary to install it, that is, the following step by step is not mandatory for those who just want to know this distribution. Here’s how to do your installation:
1. On the system’s initial screen, double-click on “Install Freespire 18.04”;
2. Select your language and click on “Continue”;
3. Then, select the correct keyboard layout and click “Continue”;
4. In this step, it is up to you to install third-party graphics drivers such as NVIDIA, for example, and also to update software;
5. Select the desired option for how Freespire will be installed on your computer. If you already have a system on the machine, such as Windows, you will have the option of leaving the machine with a dual-boot. In our case, we use the first option, which erases everything on the HD;
6. On the next screen, select the location where you are;
7. Fill in the requested data for the creation of the user and click on “Continue”;
8. Wait for the process to complete, remove the USB stick from the computer and click on “Restart now”.
From this moment on, you can use the Linux Freespire installed on your computer.
What comes with Linux Freespire and its highlights
As was said at the beginning of the article, Linux Freespire wants to emerge as an alternative to Windows and even its look resembles the Microsoft system in some points. Thus, the default graphic environment of the system ends up being MATE, which with a simple look ends up not confusing younger users.
In terms of programs, Freespire also brings only the essentials and avoids having many options of pre-installed software as seen in other distributions. Below, see the list of its main applications:
Chromium – Google browser;
Abiword – Text editor;
Gnumeric – Spreadsheet editor;
Parole – Media files player.
In addition to the pre-installed programs, of course, Linux Freespire also brings a very competent application store, which has several famous options. There, for example, you can download Firefox, Libreoffice, Spotify, GIMP and other very popular applications.
Ready! Now you know a little more about Linux Freespire and how to install it.
