
Do you want to share your computer screen with a TV? If so, you can do it using the Google Chromecast app for Windows 10 and even wireless. It is the best option to install your computer screen on another device.
Instead of using an HDMI cable, you can use Chromecast for Windows 10. Unlike the early days, Google Chromecast is now built on the browser itself, saving you the need for the Chromecast plus extension.
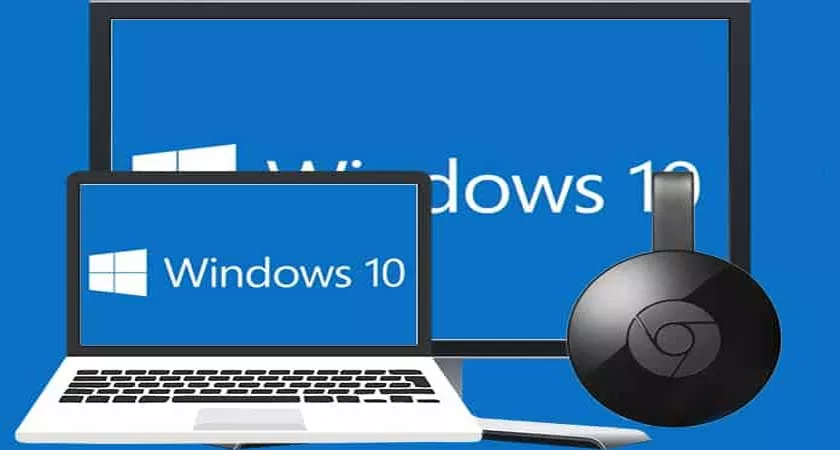
Chromecast app for Windows 10
Everything can be done in seconds and here is the step by step process to do it.
How to share your screen using the Chromecast app for Windows 10?
The process is quite simple and you can start doing it in seconds. So let’s dive into the process and start learning how to share your desktop screen with another device.
Step 1: Preparing Chromecast
TheChromecastGoogle was previously available for Mozilla Firefox extension via Google Chromecast. As this requires the use of the extension, it can be tricky for some people. So Google made this possible by launching the built-in functionality of Chromecast, so you don’t have to install an extension yet.
All you have to do is simply update your Chrome browser to the latest version and there you will find the Chromecast option. It is recommended to update the Chrome browser to version 51 or higher.
Step 2: Connect Chromecast to your TV
- Open your Chrome browser and click on the three dots located in the upper right corner of your screen.
- By clicking on, a menu will be opened and you must select “Caster” option from the menu.
- After that, a pop-up window will appear on your screen in which you have to check “Enable broadcasting to cloud services such as Google Hangouts”, then click on “ok, I understand”.
- This option will allow you to navigate Google Hangouts using the browser.
- Then you will see another pop-up window in which you need to select the source, whether you want to convert a tab or a desktop.
Step 3: Launch a single tab
- To start broadcasting from a single tab, simply click on “Cast Tab”, then select Chromecast. If you don’t select this option, Chromecast will start streaming the recently opened tab to your TV. Sometimes the connection may fail. If this problem occurs, keep trying until it connects.
- Once the connection is established, you can start sharing your desktop screen with your TV. If you wish to stop distribution, you can click on the “Distribution” icon located next to the “X” icon.
- Then the Chromecast dialog box appears and from there you can stop the broadcast or increase or decrease the volume of your broadcast.
Step 4: Cast the entire desktop
- To broadcast your entire desktop, simply click on the “Cast Desktop” option in the source list.
- Then select the Chromecast option from the available options.
- If you want to play the entire screen, select either the screen content or the sound.
- If you wish to stop the casting, click on the option “Stop casting”.
Conclusion
That’s all! Above, the easiest and quickest way to set up the Chromecast app for Windows 10. I hope this message helped you get what you were looking for. If you found something useful, share this message with your friends, family, and loved ones.