
Are you using Microsoft’s new operating system and want to know how to set up an FTP server on Windows 10 ? If you need to remotely transfer and share files via the Internet or locally through your corporate or home network with other connected PCs then I recommend you create an FTP server on Windows 10, a reliable protocol that allows you full access to specific files and folders. able to offer you confidentiality and many advantages.
How to set up an FTP server on Windows 10 to bring shared files and folders on a local or corporate network always with us.
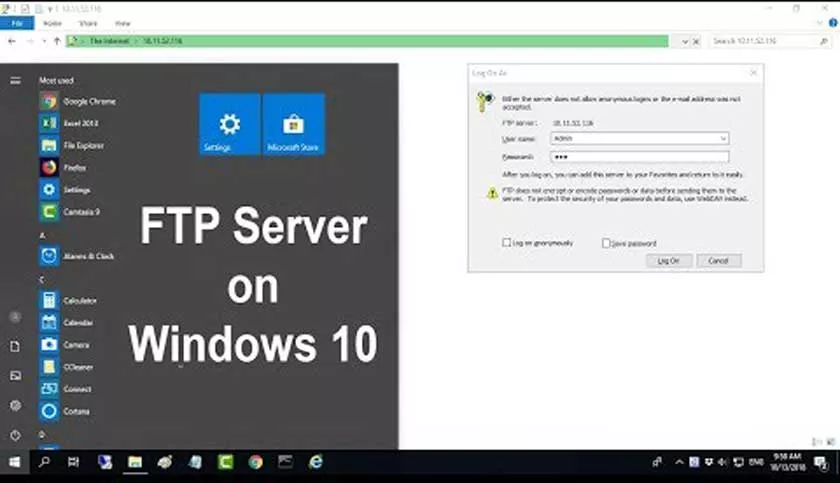
Through this guide I want to explain how to configure an FTP server on Windows 10 in order to take and access shared files and folders wherever you are, but without wasting any more time let’s see what operations you need to perform.
How to set up an FTP server on Windows 10
Once the command prompt window has opened on Windows 10 type the command ipconfig / all and press Enter on the keyboard, from the list of options that appear you have to mark the name you see next to Host name and on Windows IP configurations Ethernet card the number you see next to IP address.
Now as the next step to set up an FTP server on Windows 10 you need to activate the IIS Manager , to do this type Control Panel on the Cortana search bar and select the first item that comes out of the list to open the Control Panel window.
From this window select Programs> Programs and Features then in the screen where you are click on the left inscription Activation or deactivation of Windows features to load the list of Windows 10 features.
From the window that opened scroll in the list identifies the item and expand Internet Information Services by clicking on the symbol + then put the check and checks that they are sprouted rumorsFTP Server, FTP Extensibility, FTP Service, Web Services and Web Management Tools.
At the end click on the button under Ok wait for the Windows Features to be applied then to finish select the Close button and restart Windows.
If you get the error 0x80071A90 you simply have to uninstall the antivirus and reinstall it.
At this point, once you have activated the service to create Windows 10 FTP servers, proceed in this way, type IIS in the Cortana search bar then from the list that appears click on the word Internet Information Services (IIS) Manager.
In the window that has opened click twice consecutively with the left mouse button on the name of the computer located at the top of the left column under the word Connections then from the list that expands press with the right mouse button on the item Sites and from the menu that opens select the item Add FTP site.
From the wizard that started in the Site information type in the appropriate field the Name of the FTP site you want to give and on the Directory item contained in the Physical path field select by clicking on the button alongside with three dots (…) where you want to save the files, at the end of all click on the Next button.
In the next screen Bindings and SSL settings on the Bindings tab type the IP address of your PC that you wrote down previously, while as Port it also leaves the 21 which is the one that is used to transfer files or to scan with the multifunction printer.
Then check Start FTP site automatically and No SSL connection if you do not use SSL certificates, at the end click on Next to proceed to the next step.
And we arrived on the last screen Authentication and authorization information on how to configure an FTP server on Windows 10. From this on Authentication you have to tick on Anonymous if you do not want the access password to be requested or on Base where it is requested, so in this case go ahead and set the access permissions.
On the card authorization in the drop down menu Allow access to: you have to select which users can access the Windows 10 FTP server, the choice is between all users, anonymous users, roles, or groups of specified users or users specified (depending on the choice you prompted to enter the user name), check the permissions of Authorizations of reading and writing, and click the button End.
As a last step on the Windows 10 FTP server you must enter an exception rule in the Firewall of your antivirus or Windows, to do so type in the Cortana search field on the taskbar Control Panel then from the menu that appears select the entry of the same name.
From the window that opened on the Windows 10 desktop go to System and security> Windows Defender Firewall then in the new screen that appears positioned on the item located in the left column Allow app or functionality through Windows Defender Firewall then click the Change settings button.
At this point, in the window you are in, look for the FTP Server item from the list and check both the item and the Private and Public network at the end press the Ok button located below and the game is done the service is active at each automatic start although first I recommend you restart your PC for the last time, after which you can transfer files or scan documents using the FTP protocol.
Conclusion
And we have arrived at the final notes of this guide how to set up an FTP server on Windows 10. If you have any issue, comment us in the comment box.