
Reduce Background Noises: With the RTX Voice application, which NVIDIA launched in the beta phase, you can prevent annoying sounds.
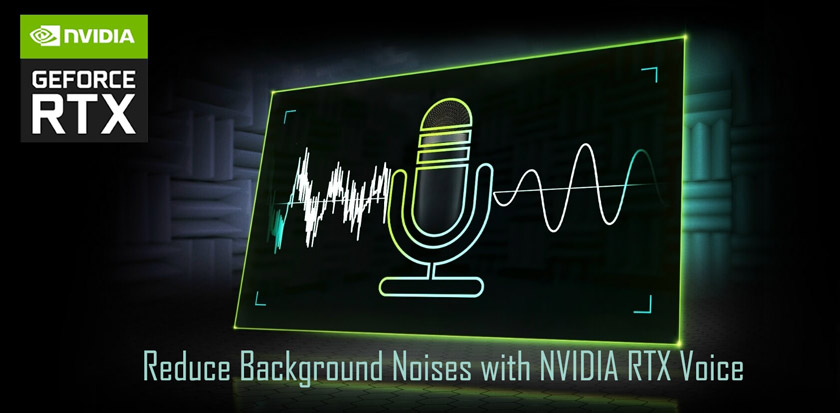
Reduce Background Noises with NVIDIA RTX Voice
NVIDIA RTX Voice leverages NVIDIA RTX GPUs and AI capabilities to remove background noises in broadcasts, voice chats and remote video conferencing meetings.
For example, loud background sounds or keyboard sounds can disturb others while playing games or doing a business call. While suppressing background sounds in such environments, the sound is aimed to go to the other side more clearly and clearly.
Requirements
An NVIDIA GeForce RTX or Quadro RTX graphics card is required to use RTX Voice. In addition, Windows 10 operating system 410.18 or newer NVIDIA driver must be installed. This plugin is still in beta and improvements will continue according to feedback.
Supported Applications
- OBS Studio
- XSplit Broadcaster
- XSplit Gamecaster
- Twitch Studio
- Discord
- Google Chrome
- WebEx *
- Skype*
- Zoom *
- Slacker *
How to use?
RTX Voice creates a virtual audio device on your system and can be selected to block background noise in a variety of applications.
- First download the application and install it on your computer.
- Then select the speaker and microphone you want to use from the software
- Then check the background noise canceling feature.
- We have now created our virtual device, where the work ends in the communication application we use.
- Whichever application we use, we need to go to its settings and customize the input and output devices.
Discord
For example, after logging into Settings via Discord, let’s login to the Audio and Video tab. Then set the input and output device to NVIDIA RTX Voice.
Zoom
Zoom out againSettingsonsoundselection can be made from the section.
Skype
Similar to the Skype application, we follow theAudio and Videopath after logging intoSettings.
Google Chrome
After clicking on the three dots on the Google Chrome page, we log in to Settings. Next, let’s go toPrivacy and security>Site settings. Let’s make the adjustments after logging into theMicrophone here.
OBS Studio
After following theSettings> Audiopath via OBS Studio, we can adjust the microphone.
XSplit
XSplit interface ingearicon (Settings) after clickingsound(audio) can reach the same options by going to the tab.
Twitch Studio
For Twitch Studio, let’s go to theSoundsection after clicking thegear icon (Settings).