
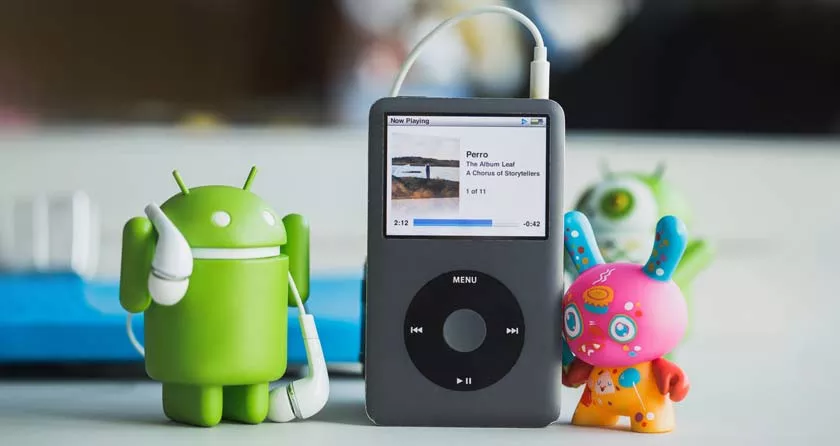
Sync iTunes with Android: One of the stumbling blocks of those who make the “leap” from iOStoAndroidis having to abandon certain habits and applications that he used to use until then.iTunes, the pride and concern of many users, often encompasses our entire musical life, even in times of change like these.
So what to do to synchronize iTunes with Android, since the former does not recognize (for obvious reasons) the latter? We useGoogle Play Music, and continue to use iTunes as we have always done.
How to Sync iTunes with Android via Google Play Music
A simple solution, which many will have adopted or thought of adopting, is to manually copy theiTunes libraryon theirAndroid device: this, however, proves to be the worst solution if we continue to use iTunes to buy and manage our music files, as we will have to manually copy all the new files whenever we want them on our Android.
WithGoogle Play Music, an extension will be installed on our computer that will take care of uploading all the new songs online to the Google service as we add them: let’s see how.
- Go to theGoogle Play Music page.
- If necessary, log in to your Google Account.
- As you can see, there are two types of service: one in Spotify-like, which allows you to listen to music at will, and another for free. For our final goal, the important difference is that with the free one you can upload amaximum of 50,000 songs, after which you need the paid one for € 9.99 per month. Make your choice according to your needs.
- Open theSettings panel, in thecardlist you will find the itemMusic from this computer: click on it
- At this point we will be asked for confirmation: click onNext
- If you useChrome, it will open a pop-up where you will be prompted to add theplugintoGoogle Play Music: add it
- Thanks to the plugin, Google Play Music can analyze your system in search of music: it will automatically locate theiTuneslibrary and invite you to synchronize it
- This operation may take some time, depending on your connection and the size of your library
- From yourAndroid device, go to Play Music, openSettingsand look for the itemCache: tick it
Now every time yourAndroiddevice is connected to a Wi-Fi network it will automatically synchronize your music saved oniTunes. Easy, right?